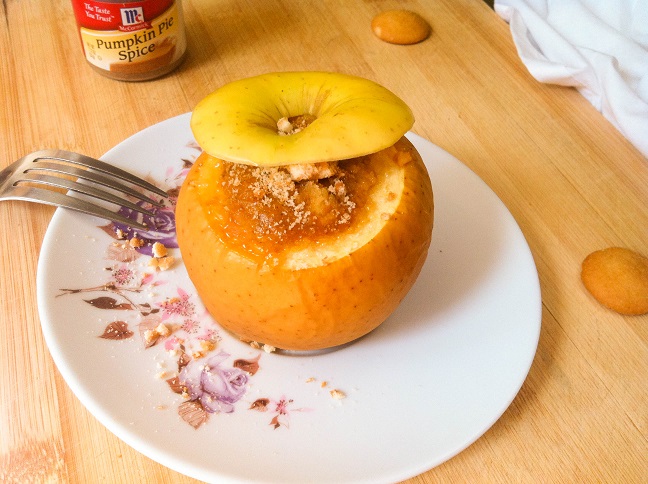
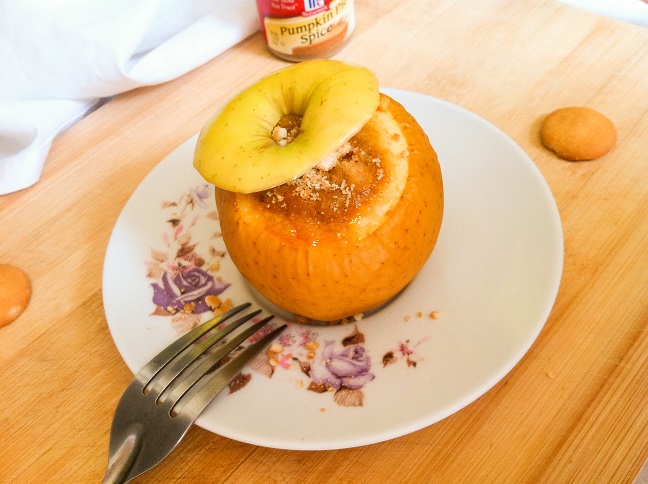
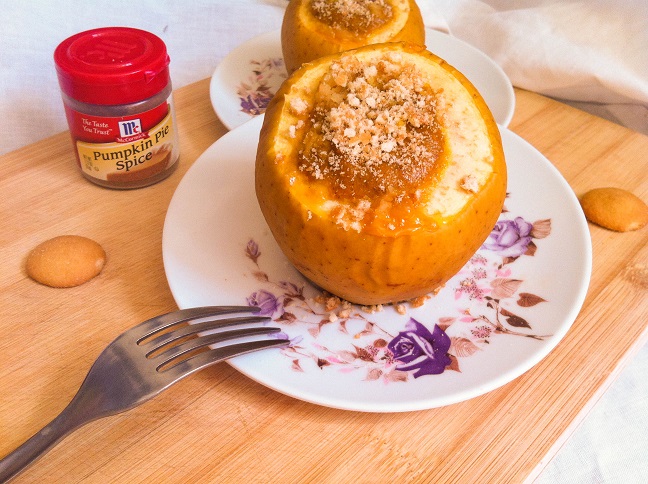
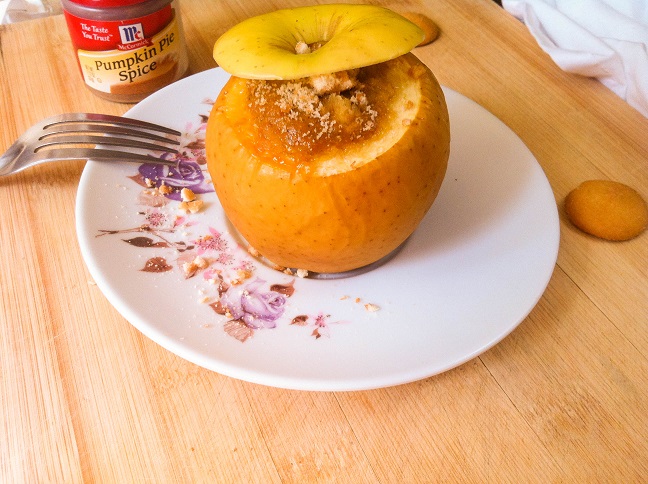
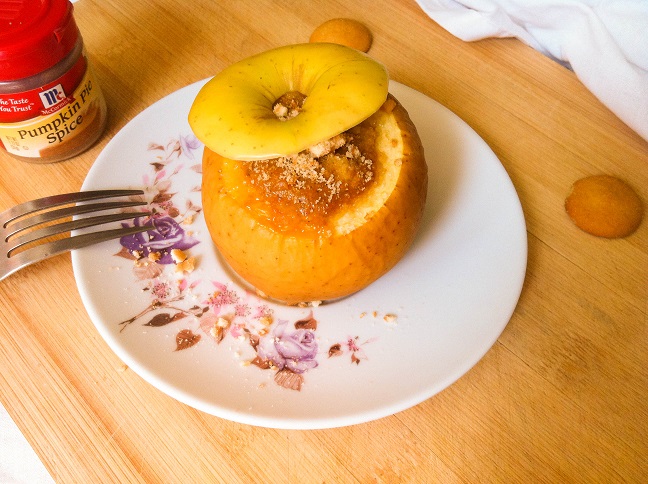
Pumpkin pie baked inside a hollowed out apple and topped with vanilla wafer crumbs. This quick and easy dessert combines two fall favorites.
Which is your favorite: apple pie or pumpkin pie? That’s the question I feel I’m always asked during the fall. But why, oh why, can’t I have both?
There’s a tiny café near my house, which serves large slices of pie. When I order one to bring home, they usually place it into a small reusable container (because SF doesn’t allow for Styrofoam or plastic anymore) topped with heaps of whipped cream. I don’t eat all of the whipped cream, of course, but it sure does look nice on my pies. My issue though is that I can never decide which one I want. And I definitely do not want to eat two huge slices all by myself. But I really want to stick my fork in both of them and savor the distinctive flavors of fall.
If you look on Pinterest, there are so many recipes lately of Apple Pie in a Baked Apple. I wanted to do something similar but at the same time, different. So I decided to combine two fall favorites in one recipe. The result? Pumpkin Pie in Baked Apples.
Just imagine a tasty baked apple filled with pumpkin custard that you normally find in pumpkin pie. Crush a little bit of vanilla wafers or graham crackers and sprinkle it over the pumpkin and apple. Each slice is a melding of two fall favorites: pumpkin and apples. Soo good. Trust me. You’ll want to try this.
I’m sharing this with my friends at Fiesta Friday. Come join us!
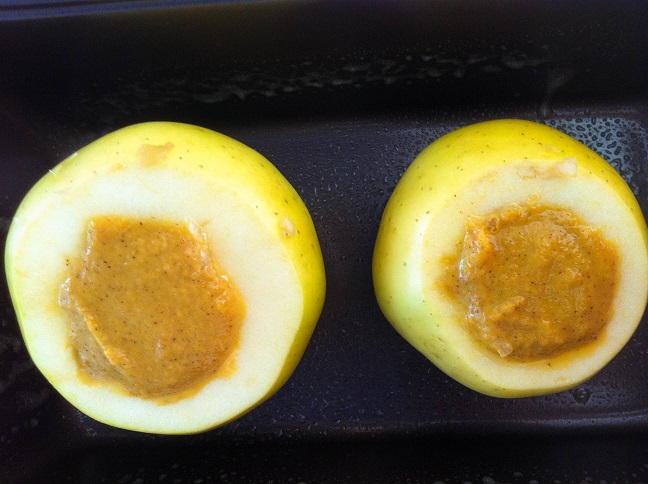
Preheat the oven to 350F. Lightly grease the bottom of a 9×5 inch baking pan with nonstick cooking spray. I like doing that to make sure nothing ends up sticking onto the baking pan, making it harder for me to clean later.
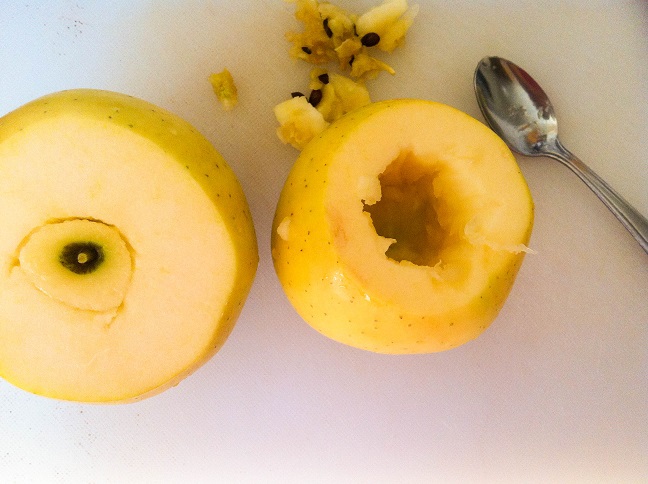
Wash four small to medium sized apples. I chose to use Golden Delicious apples since they’re the perfect size for this. Cut a little bit of the top off with a knife. Then use a spoon or a melon scooper to cut out the core. I used a tiny spoon to dig out the seeds. Hollow out as much of the apple as you want. It depends on how much pumpkin you want inside your apple. I made a hole about the size of a quarter, but you can carve out more of the apple to make more room for the pumpkin.
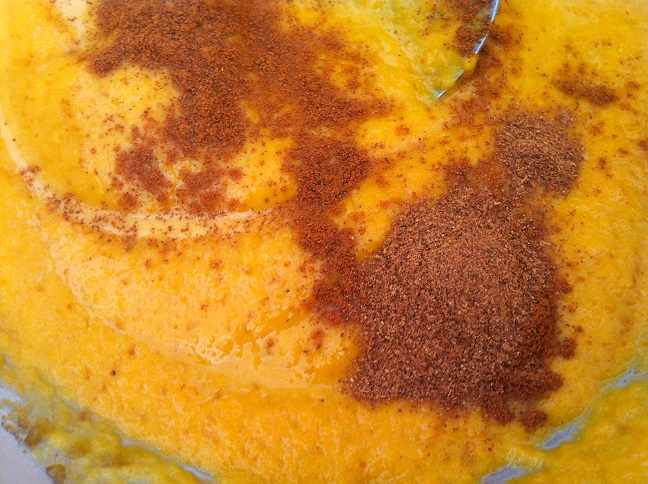
Add pumpkin puree, evaporated milk, cinnamon, pumpkin spice, and brown sugar into a medium sized bowl. Mix the ingredients until they become evenly incorporated.
Next, add half of a large egg. I know that sounds strange, but this pumpkin filling is enough for four apples. If I used a whole egg, I would need double of everything else, which would make 8 apples. And that’s just too many for my family. But it could be perfect for you and yours. =) The egg is needed to create that custard texture in pumpkin pie. Otherwise, it would remain like pumpkin puree.
Now, for those who are vegan, you can leave out the evaporated milk and egg. The pumpkin would remain like puree, but the flavor will taste exactly like pumpkin pie.
Place the pumpkin filled apples into the oven and bake for about 20-25 minutes. The time will vary due to the difference in ovens. However, you’ll be able to tell when the pumpkin filling has become solid and is no longer liquid. The apple will become soft to touch.
Remove the apples from the oven and allow them to cool for about 10 minutes.
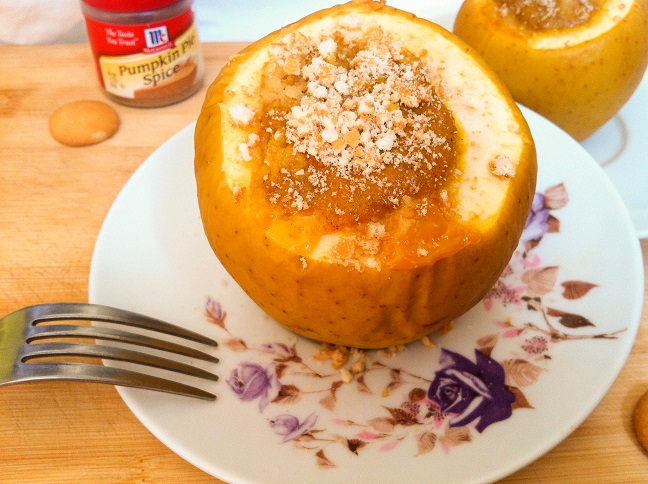
Crush a few vanilla wafers into crumbs and sprinkle the crumbs over the pumpkin and apple. But if you want a gluten-free dessert, leave out the wafer crumbs.
Serve the pumpkin filled baked apple warm or cold.
Enjoy!
Nope. I didn’t forget my dental hygiene tips. I figured it would flow better if I saved the tips for the end of the post. =)
Tip #2: Make sure to brush your teeth for two full minutes (or more), the recommended amount of time. Research has found that two minutes is needed to do a thorough brushing. Try to focus about 30 seconds for each fourth of the mouth to make sure that you brush all surfaces of your teeth.
Want instant updates? Follow me on Facebook, Twitter, Instagram, or Bloglovin.
Did you know that if you’re not ready to print a recipe, you can save the recipe into an online recipe box through Ziplist? It’s completely free to sign up and easy to use to organize your recipes as well as your grocery list.
[amd-zlrecipe-recipe:44]
Disclaimer: This post containers affiliate links.
What an awesome idea!!!!
Thanks, Sarah!
Sounds interesting!
Thank you!
I can’t wait to try this!
Hope you’ll like it, Sarah!
I can’t wait to make this! Thank you for posting!
You’re welcome! Hope you’ll like it!
Brilliant!
Thank you!
This is such an adorable dessert!
Thank you, Yanic!
Great idea! I’ll have to try this one for sure.
Hope you’ll like it!
What an ingenious idea 🙂
Thank you, Julie!
You’ew welcome 🙂
Genius recipe
Thank you!
that looks absolutely delicious