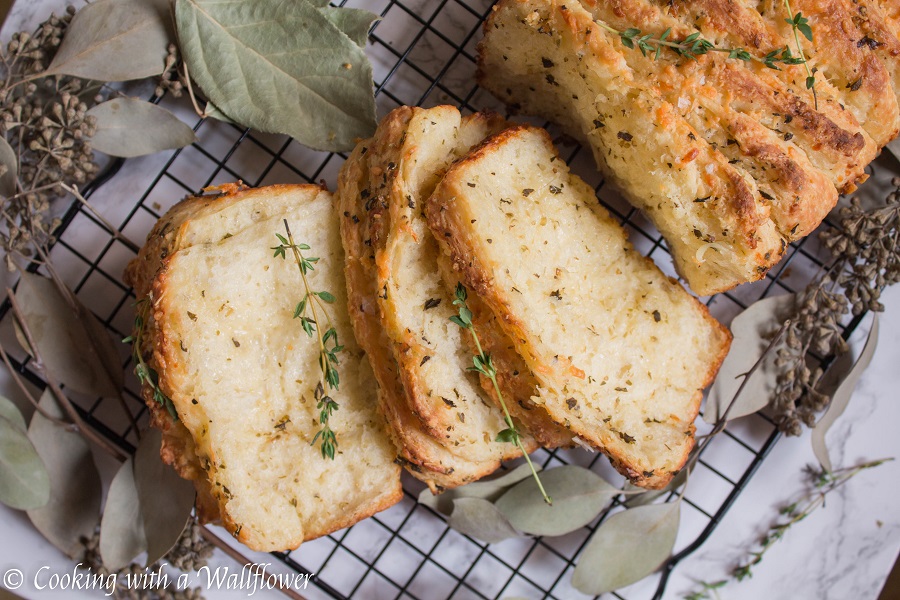
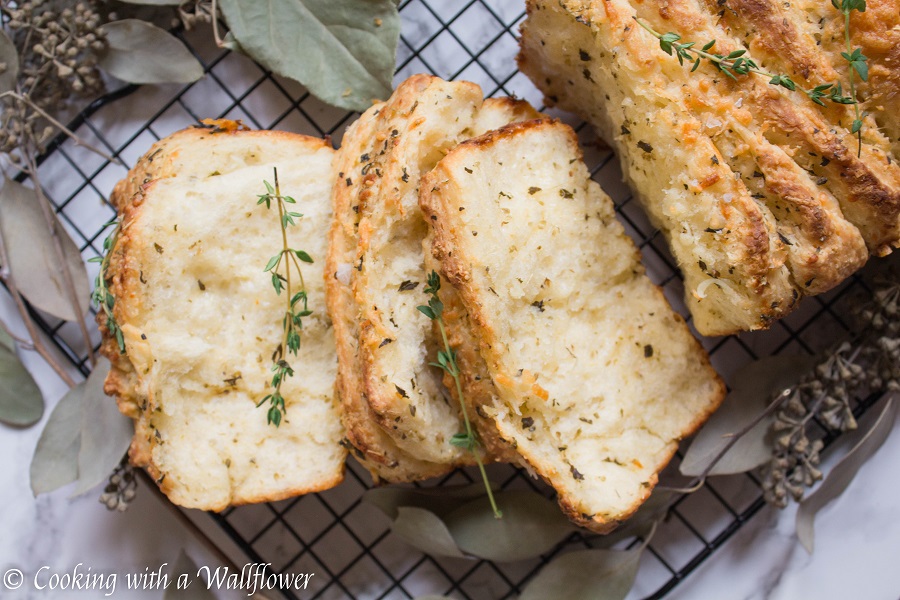
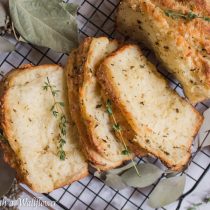
Soft pull apart bread filled with garlic and cheese in every bite. This garlic parmesan pull apart bread is simple to make and perfect for beginners in baking with yeast.
Now that it’s October, it actually feels like it’s officially fall.
Did you know that fall is my favorite season? I love seeing different sizes and colors of pumpkins decorating store fronts as well as inside stores. I love seeing the various shades of reds, oranges, and yellows in flowers. And I especially love fall foliage even though I don’t really get to see it living in San Francisco.
That just means that I’m going to find an excuse to wear an oversized cozy sweater with a plaid blanket scarf and knee high faux leather boots to seek out fall foliage somewhere nearby. I refuse to miss out on the short lived fall foliage.

And if there’s one thing I learned from 2020? Don’t put things off. If there’s something you’ve been wanting to do, and it’s not impossible to do, definitely check it off your list. Because you never know what the future holds. So I plan to enjoy every moment of fall as much as possible.
But fall is here! Which means it’s the start of baking season.
I wanted to start with this garlic parmesan pull apart bread. It’s pretty simple to make, but it does require a little patience because it includes yeast.
To be honest, yeast is a new thing for me. In all the years I’ve been blogging, I probably shared one recipe that included yeast. I had thought that working with yeast was too difficult, that it was too time consuming, and I didn’t really care for it. But in recent months, especially while we were sheltering in place, I suddenly develop an interest in working with yeast. There’s so many possibilities. And when you can see your dough doubling in size? It’s soo satisfying.
For this garlic parmesan pull apart bread, I used instant yeast. So it doesn’t really require as much wait. And you can add the instant yeast directly into the ingredients.
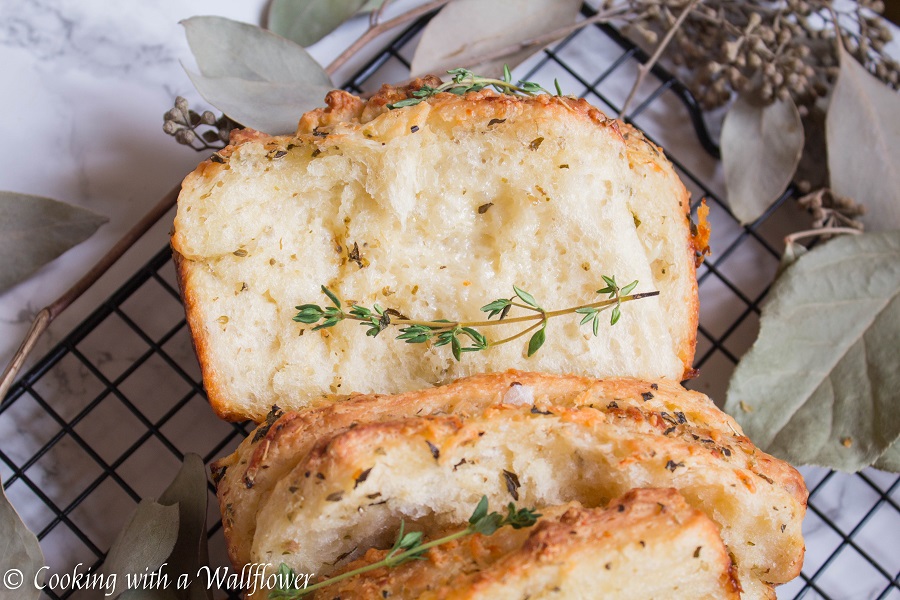
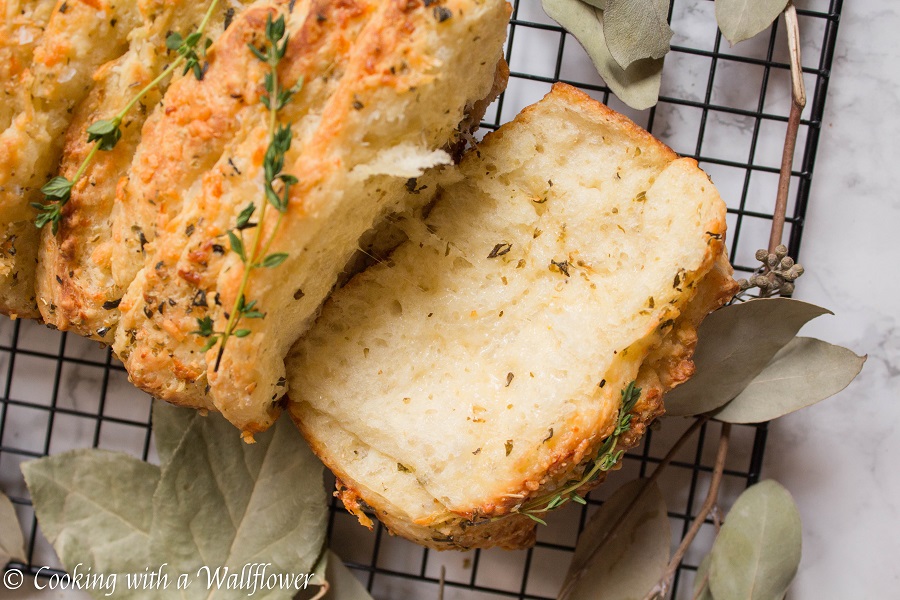
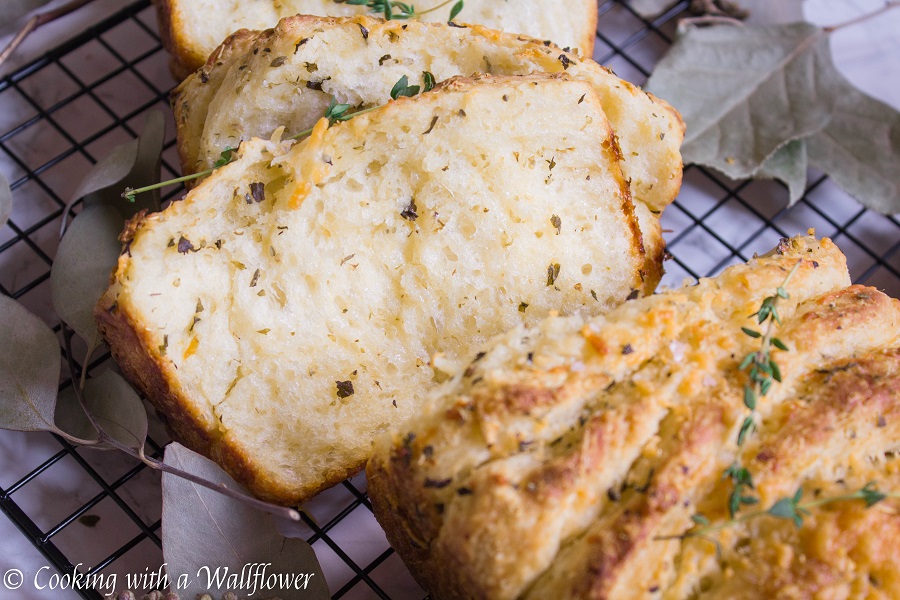
I love that this loaf of bread is so soft and fluffy. The way the pull apart bread is created, you stuff garlic and butter and herbs and cheese between every slice. So in the end, each slice that you pull off the loaf will be so flavorful and buttery. It’s perfect for every day eats.
I like to serve this pull apart bread by itself. But it’s great if you serve it alongside a big bowl of spaghetti. You can use the bread to soak up all that leftover pasta sauce in your bowl. You can even use it as sandwich bread. Or you can give it as a gift for a friend.
It’s sooo good. Trust me. You won’t want to miss out on this one. It just requires a little bit of patience. And you can easily do something else while you wait for the dough to rise.

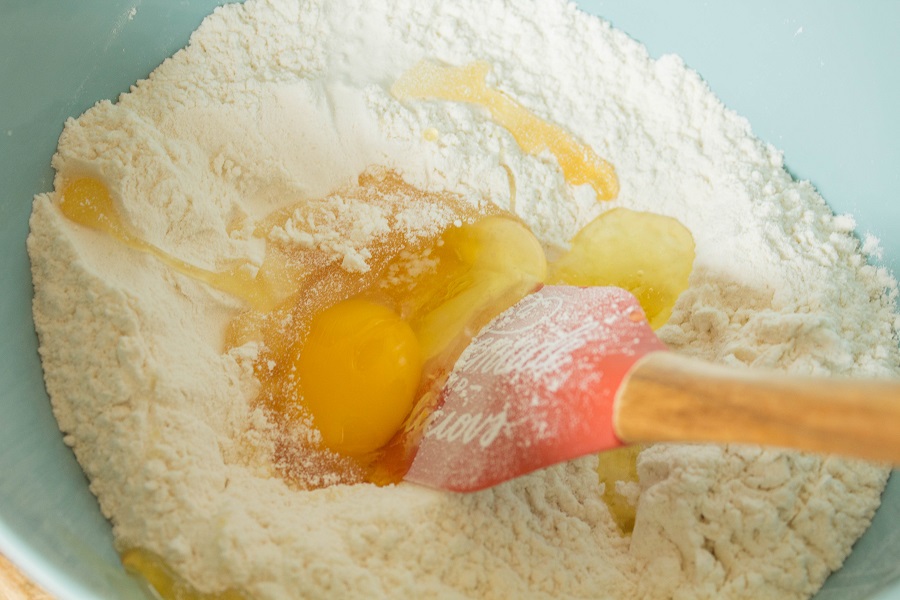
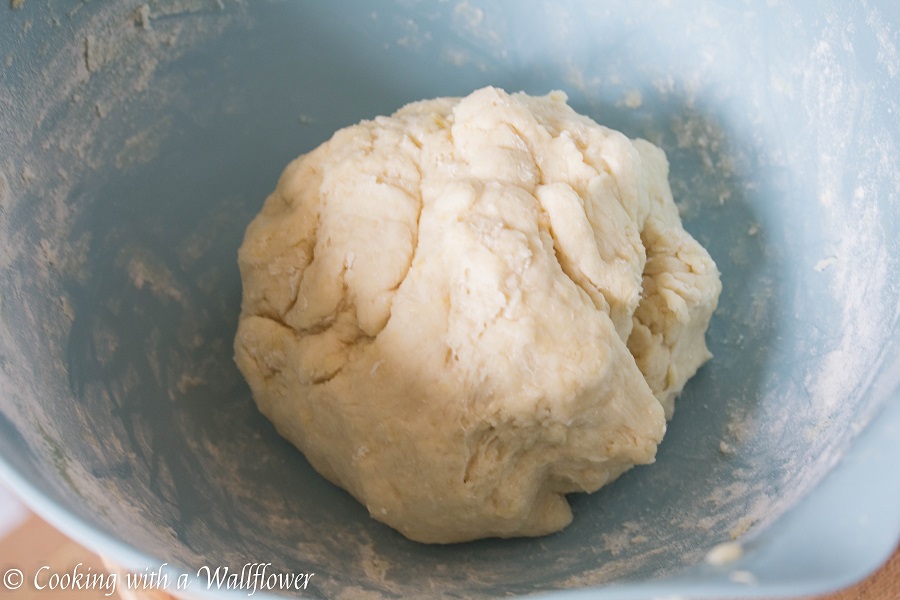
In a large bowl, combine yeast, flour, and salt. Add warm milk, honey, egg and butter. Mix until the flour is completely incorporated. If the dough seems too sticky, add up to a 1/4 cup of flour to the dough. Cover the bowl with plastic wrap and let it sit at room temperature for about a half hour to an hour.
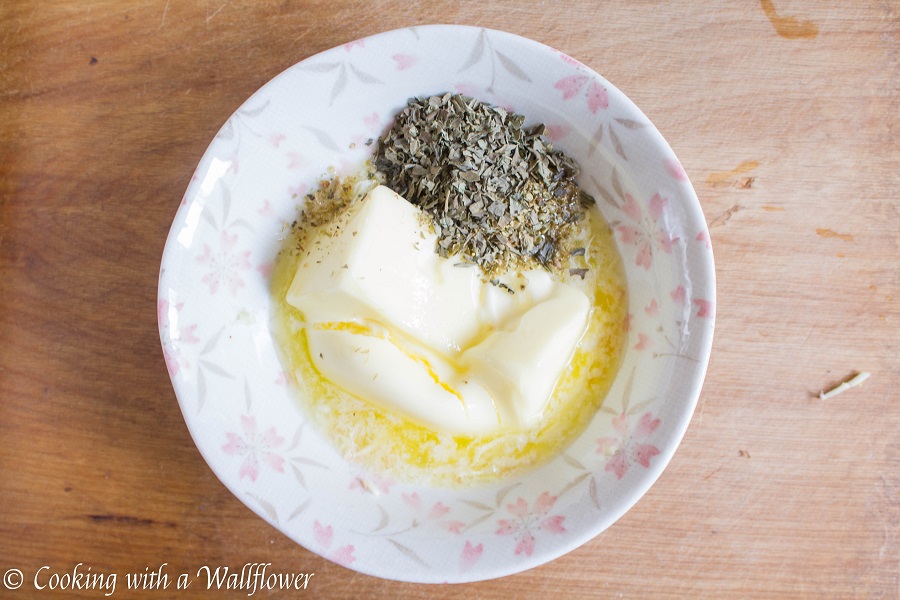
To make the garlic butter, combine butter, garlic, parmesan, parsley, oregano, thyme, basil, and a pinch of salt.
Prepare a 9×5 inch loaf pan. Lightly grease all the sides with melted butter or olive oil. Set aside for now.
Transfer the dough to a work surface and cut it into 4 equal pieces. Lightly flour your work surface. Take one piece and roll out the dough into a large rectangle. Spread the garlic butter over the dough. Then cut the rolled out dough into 3 strips lengthwise and then into 2 strips crosswise to create 6 rectangles. Stack the rectangles on top of each other. Repeat with the other 3 pieces of dough and garlic butter. Stand the stacked rectangles in the prepared loaf pan. They won’t completely fill the pan and that’s okay.

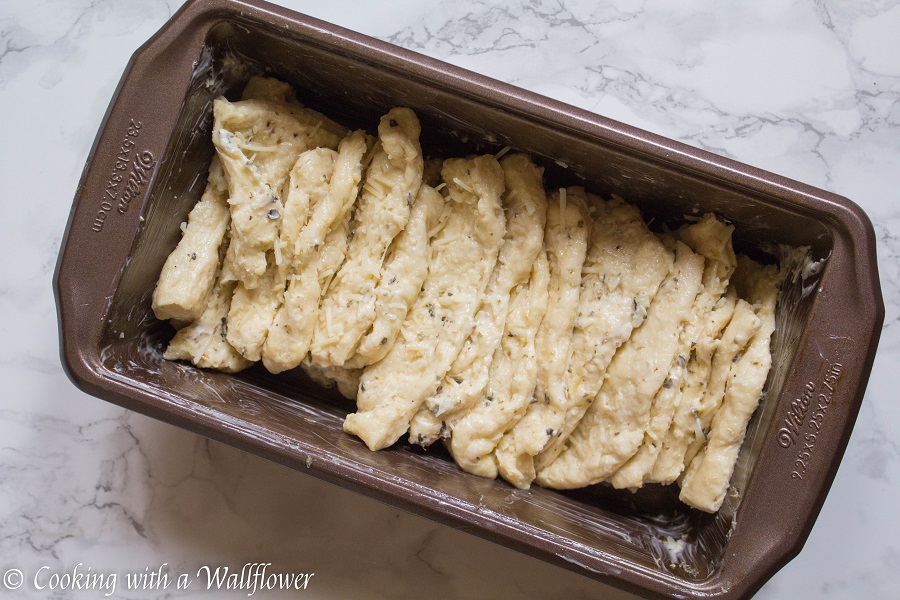
Cover the pan with plastic wrap, and let it rise in a warm place for about 1 hour. I live in SF so there’s no sunny warm spot I can place my dough. Instead sometimes I preheat the oven at about 200 F. Then I turn off the oven and leave the oven door open. After a few minutes, I put the loaf pan inside with the oven door open so that there’s a “warm spot.”

Preheat oven to 350 degrees F.
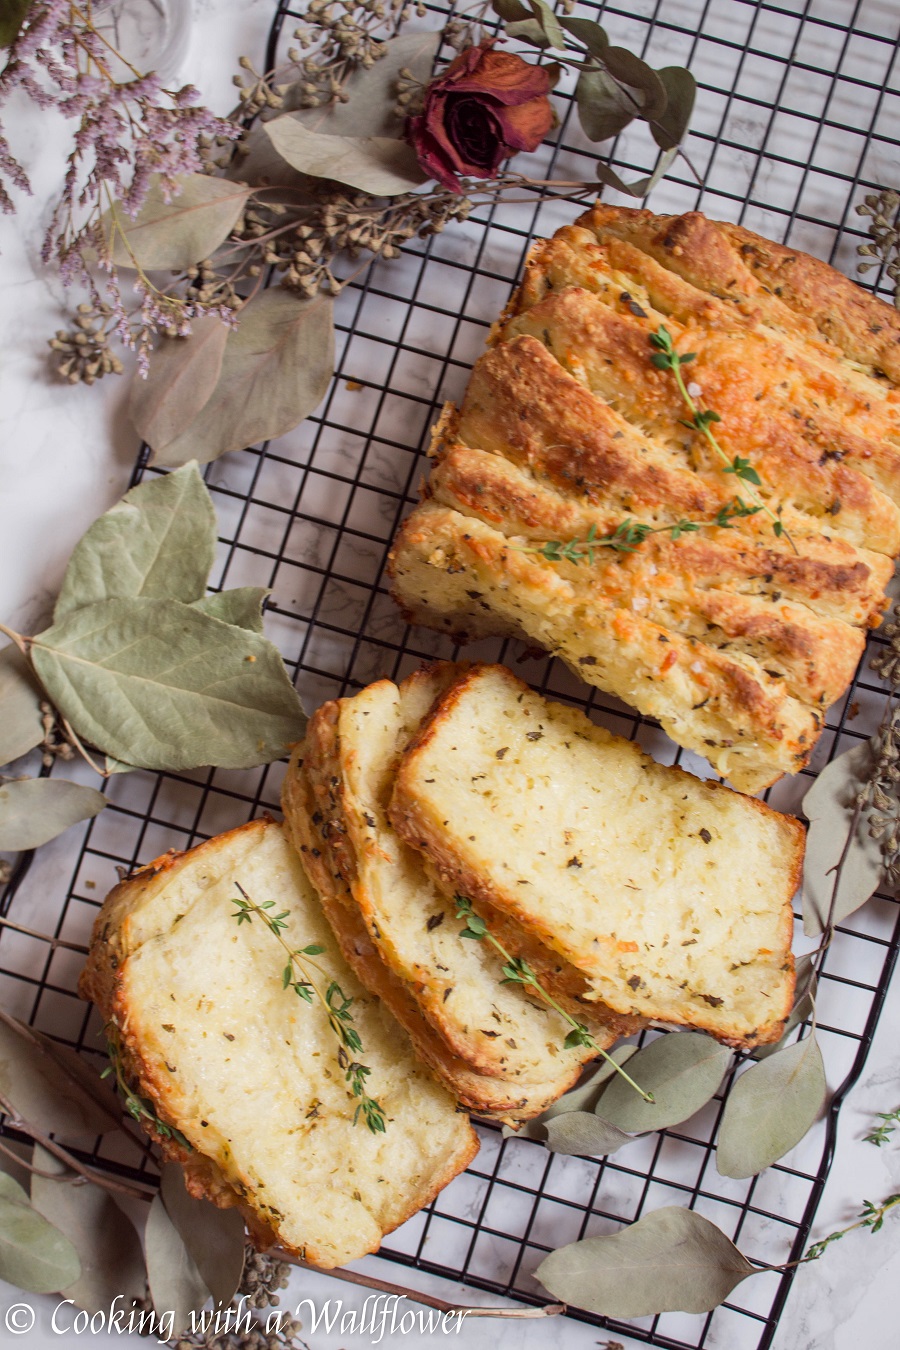
Sprinkle extra shredded parmesan cheese on top of the bread. Transfer to the oven, and bake the garlic parmesan pull apart bread for about 30-40 minutes until the bread is golden brown. Let the bread rest in the pan for about 5 minutes before using a spatula to separate the edge of the bread from the pan.
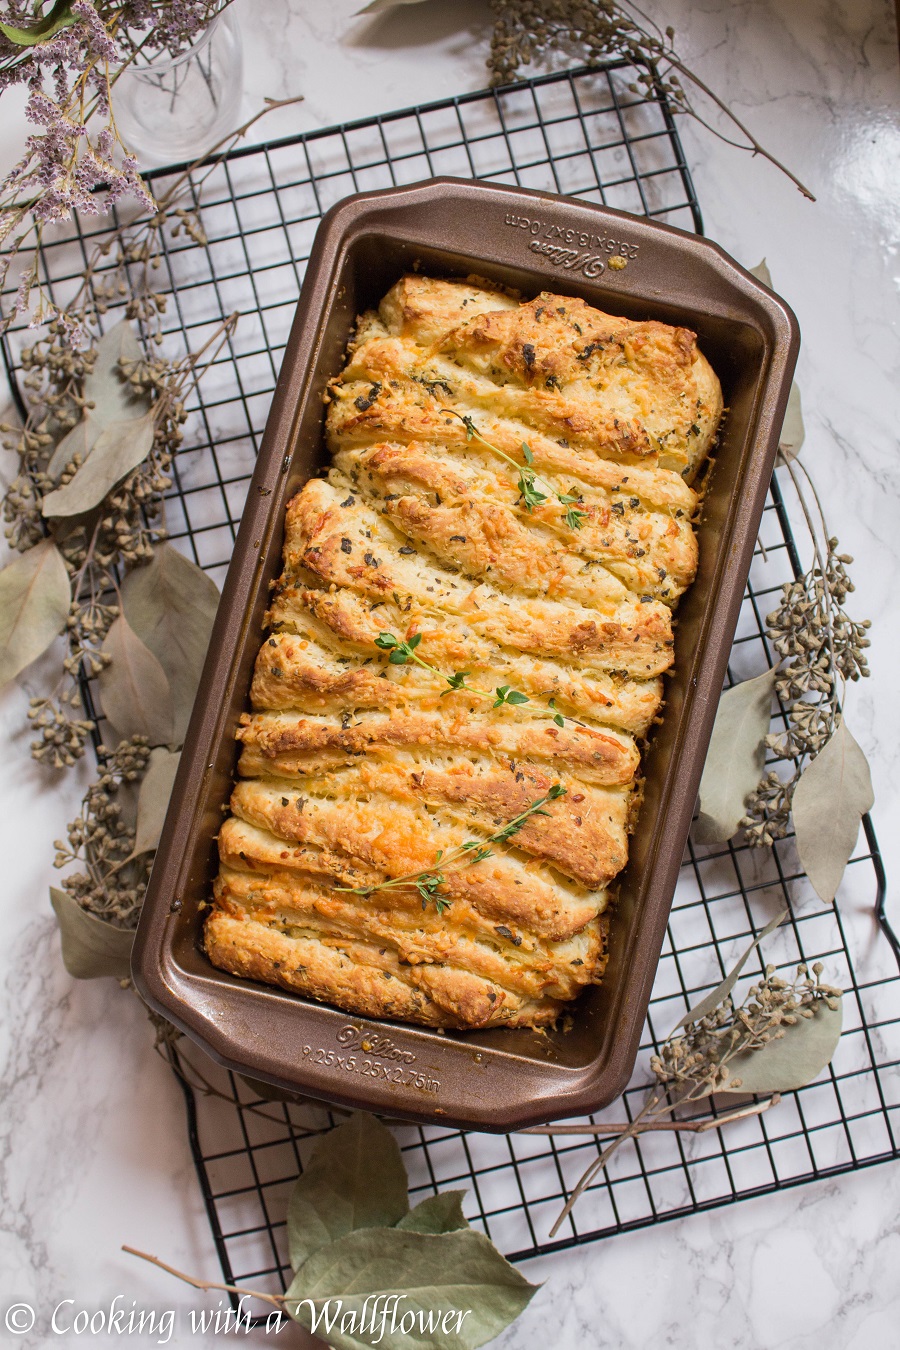
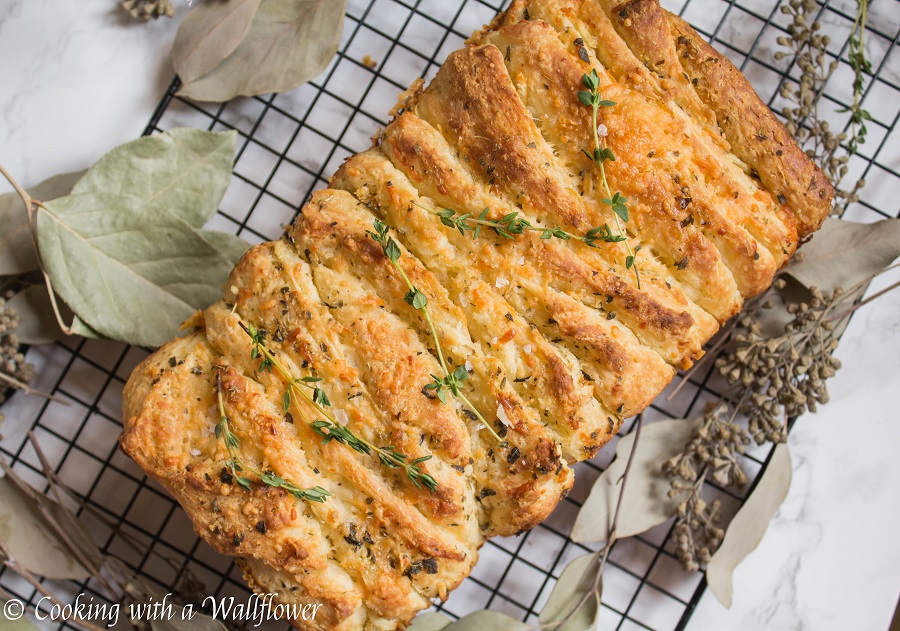
Carefully remove the bread from the pan. Brush with melted butter if desired. Sprinkle with flaky sea salt and top with sprigs of fresh thyme.
Enjoy!
- 2⅓ cups all purpose flour
- 1 packet instant yeast
- ¼ teaspoon salt
- ¾ cup warm milk
- 1½ tablespoons honey
- 1 tablespoon butter, melted
- 1 large egg
- 4 tablespoons salted butter, melted
- 4 cloves of garlic, grated
- 2 tablespoons dried parsley
- 1 tablespoon dried oregano
- 1 teaspoon dried basil
- 1 teaspoon dried or fresh thyme
- ½ cup parmesan cheese
- Extra parmesan cheese
- Melted butter
- Flaky Sea Salt
- In a large bowl, combine yeast, flour, and salt. Add warm milk, honey, egg and butter. Mix until the flour is completely incorporated. If the dough seems too sticky, add up to a ¼ cup of flour to the dough. Cover the bowl with plastic wrap and let it sit at room temperature for about a half hour to an hour.
- To make the garlic butter, combine melted butter, grated garlic, shredded parmesan, parsley, oregano, thyme, basil, and a pinch of salt.
- Prepare a 9x5 inch loaf pan. Lightly grease all the sides with melted butter or olive oil. Set aside for now.
- Transfer the dough to a work surface and cut it into 4 equal pieces. Lightly flour your work surface. Take one piece and roll out the dough into a large rectangle. Spread the garlic butter over the dough. Then cut the rolled out dough into 3 strips lengthwise and then into 2 strips crosswise to create 6 rectangles. Stack the rectangles on top of each other. Repeat with the other 3 pieces of dough and garlic butter. Stand the stacked rectangles in the prepared loaf pan. They won’t completely fill the pan and that’s okay.
- Cover the pan with plastic wrap, and let it rise in a warm place for about 1 hour.
- Preheat oven to 350 degrees F.
- Sprinkle extra shredded parmesan cheese on top of the bread. Transfer to the oven, and bake the garlic parmesan pull apart bread for about 30-40 minutes until the bread is golden brown. Let the bread rest in the pan for about 5 minutes before using a spatula to separate the edge of the bread from the pan. Carefully remove the bread from the pan. Brush with melted butter if desired. Sprinkle with flaky sea salt and top with sprigs of fresh thyme.
- Serve this garlic parmesan pull apart bread warm.
Made this yesterday and my husband loved it. I did too! I’ve been following your blog for years. Thanks!
I’m so glad you both loved it! Thanks for trying it!
want to eat your bread! But it seems to difficult for me to make. delicious.