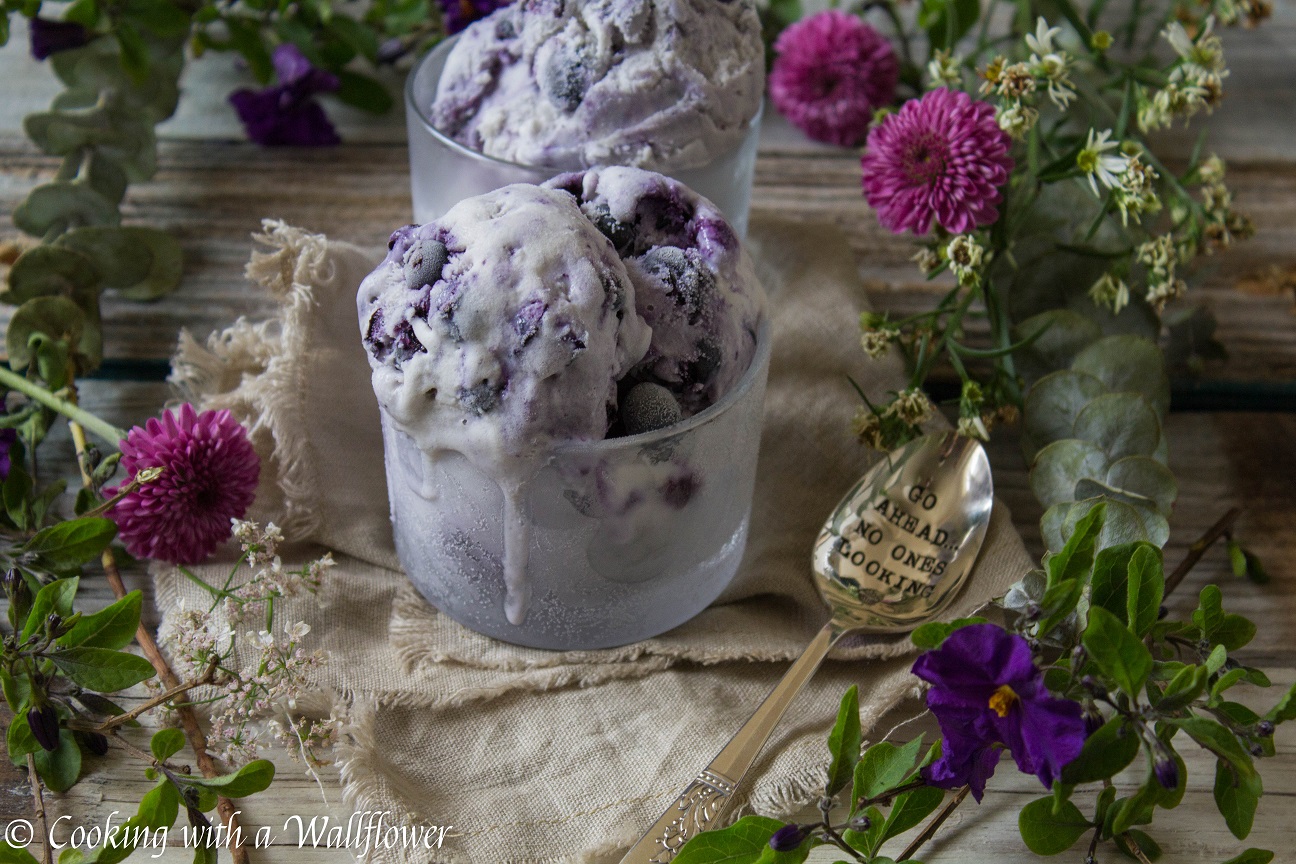
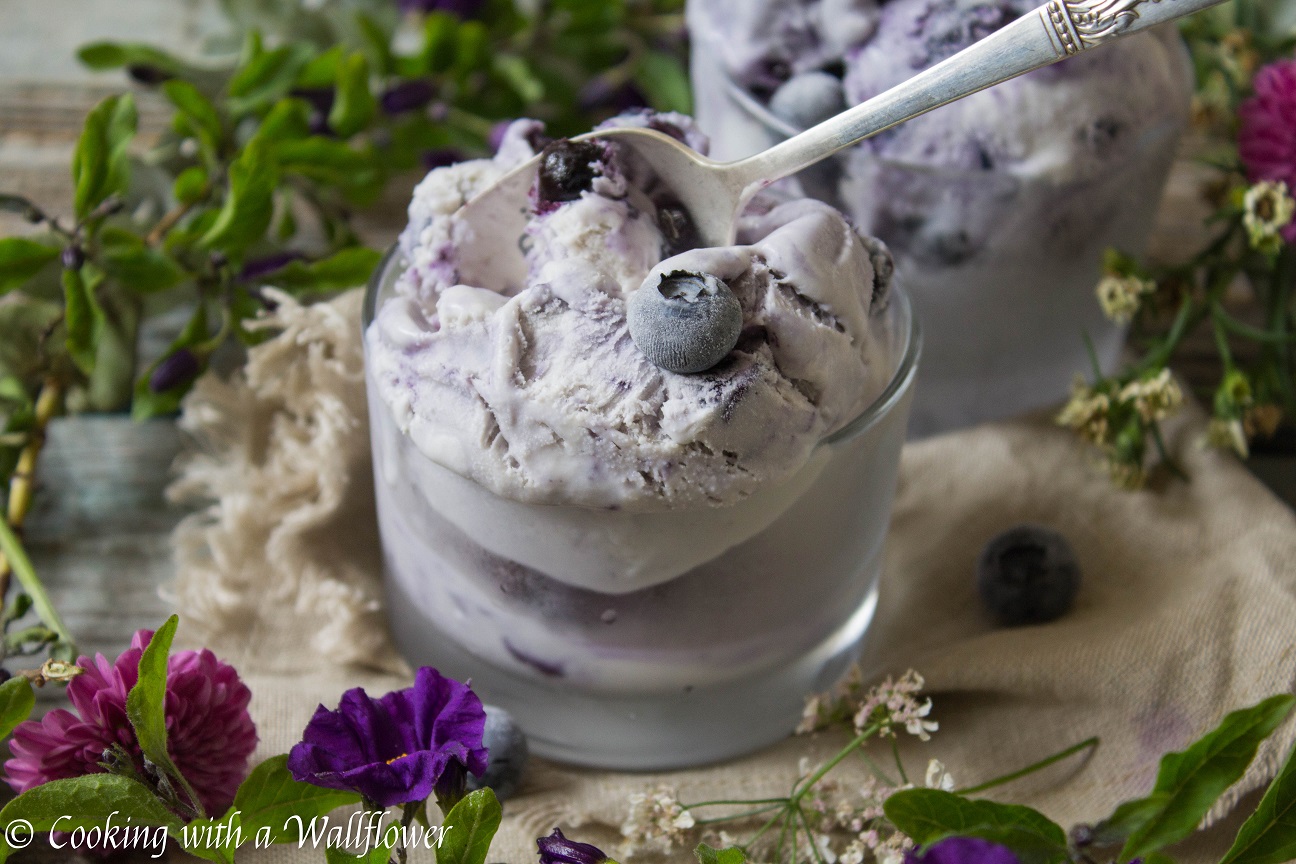
Creamy vanilla ice cream with swirls of blueberry in every single bite. This no churn blueberry ice cream is the ultimate summer dessert.
I’m going to say it. I absolutely adore this blueberry ice cream. Borderline obsessed with it.
If you’ve been following me on my Instagram stories, where I like to add behind the scene videos and photos, you probably already know just how much I love it. Mostly because I couldn’t stop talking about it. Or taking pics of it. Or posting about it. I couldn’t help it!
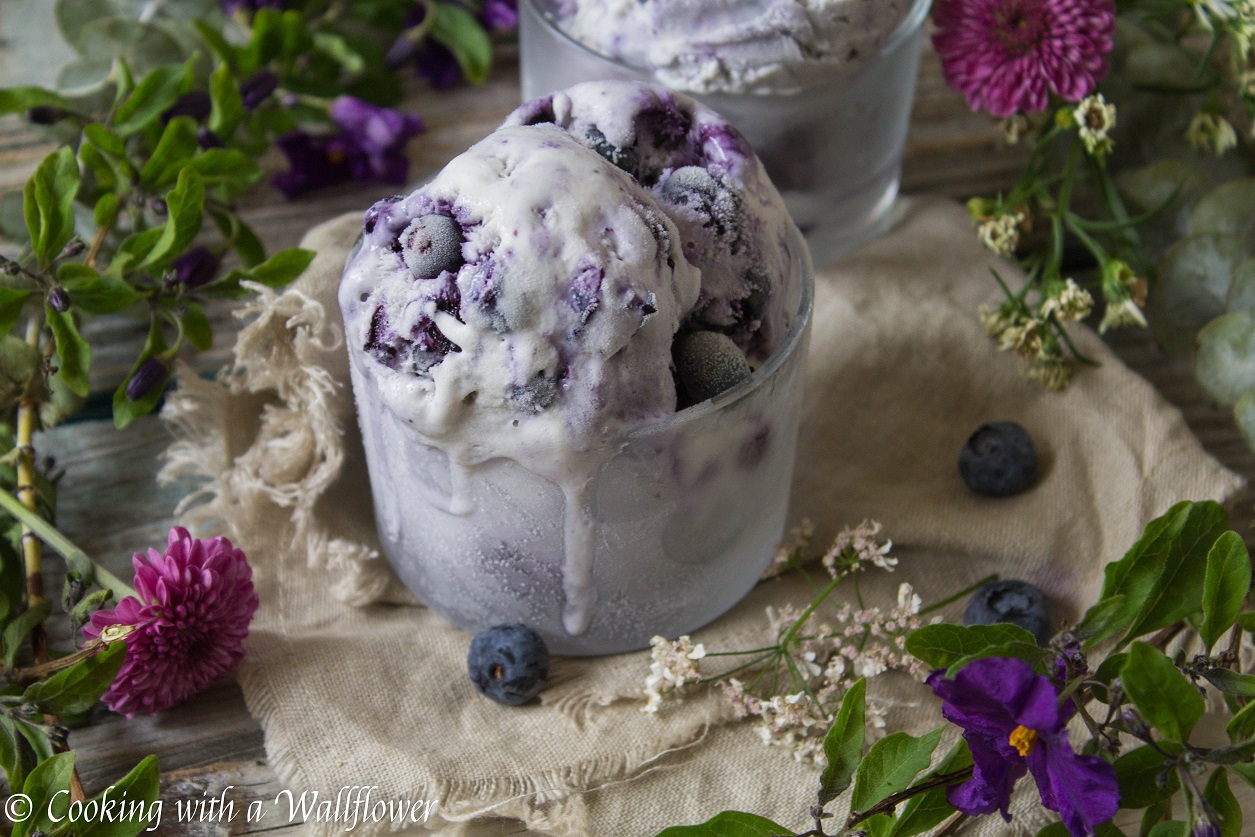
Why? Because every single bite you take of this ice cream will be bursting with blueberries. So if you’re a fan of blueberries, which I obviously am, then you’re going to love this ice cream.

There’s almost an entire pint of blueberries in this batch of ice cream. And since it’s no churn, you won’t need an ice cream machine to make it either. Which, in my book, is a plus.
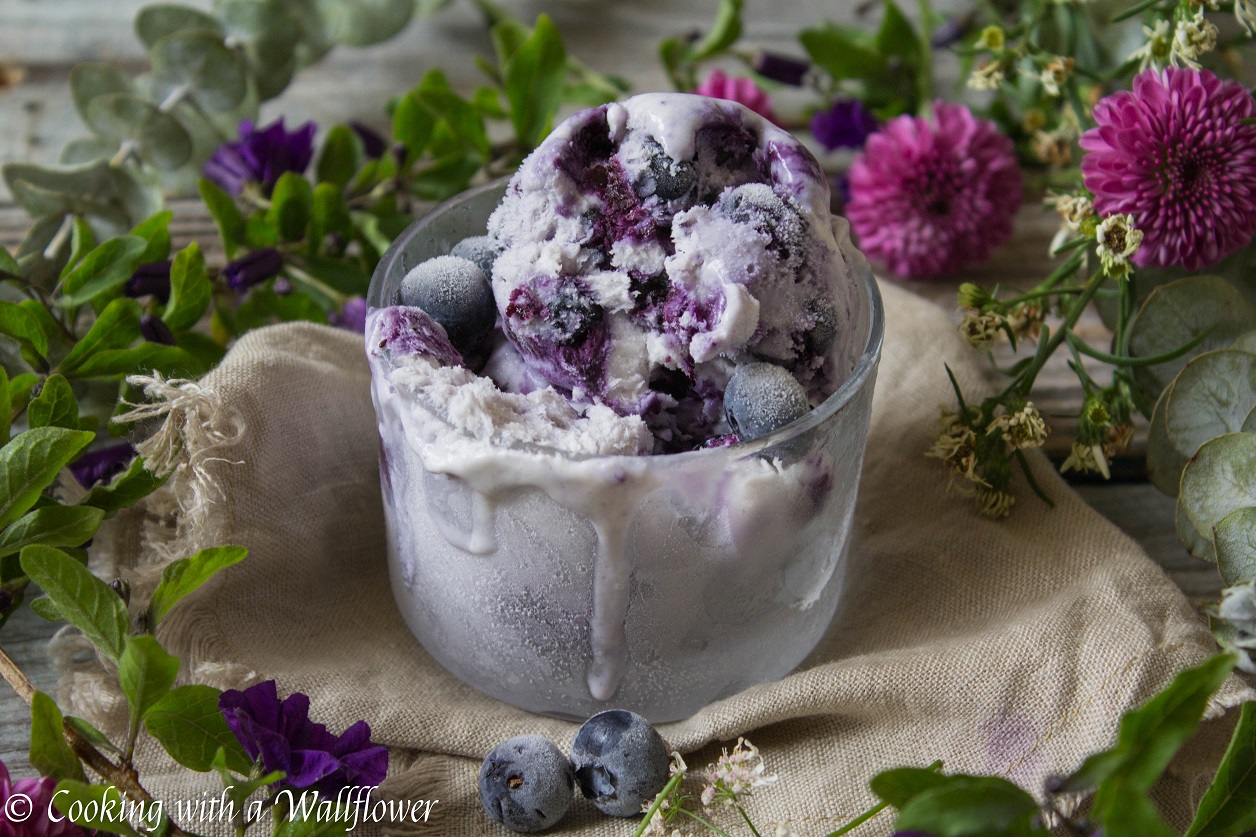
I’ve made so many different ice creams over the years, some more unique, some more classic, but this has to be my favorite one so far. So don’t mind me if I’m taking spoonfuls straight out of the container. I may have also sneaked a few bites for breakfast too. Shhh…

In the meantime, don’t wait. You need this blueberry ice cream in your life ASAP.
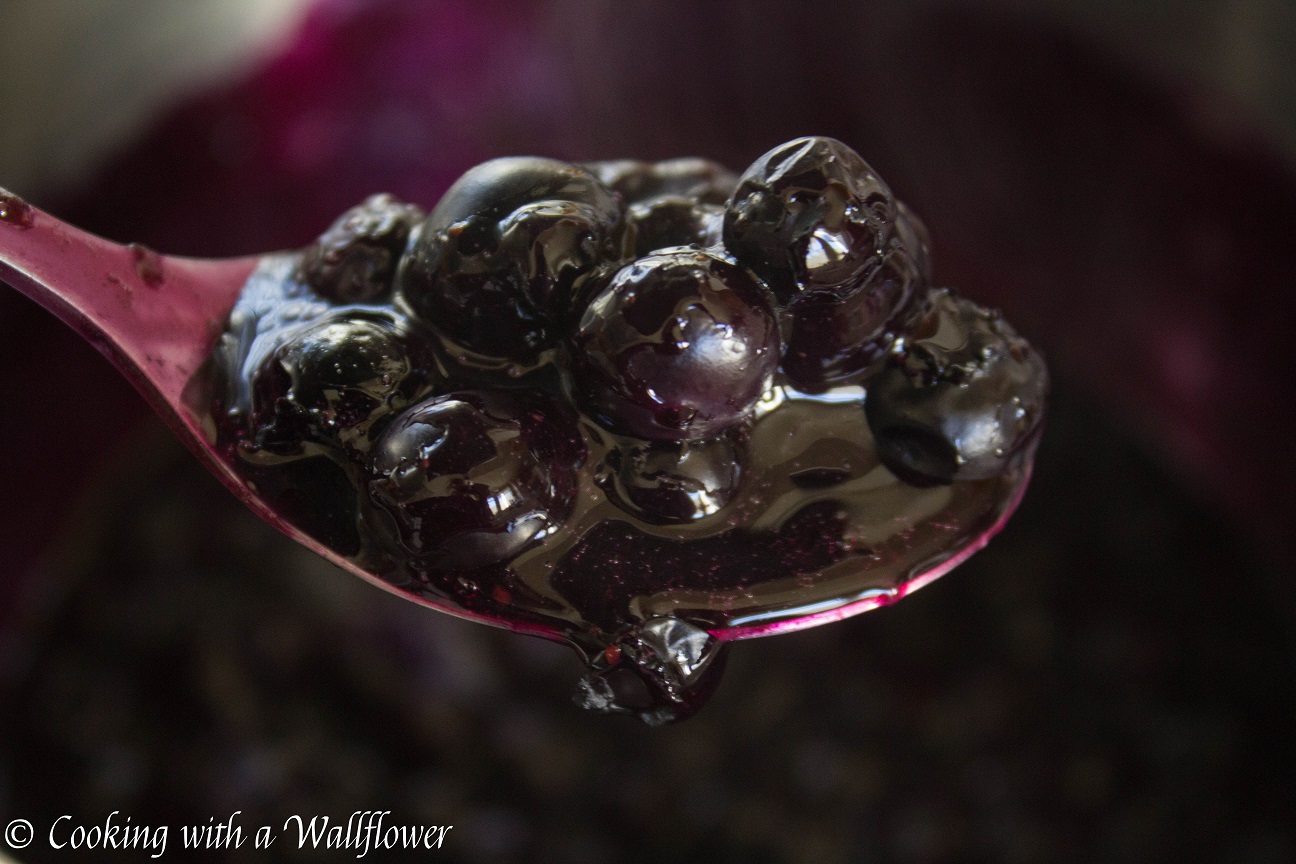
In a small bowl, whisk together cornstarch and cold water until combined.
In a small pot, add blueberries, sugar, and cornstarch mixture and cook for about 5 minutes over medium heat until the blueberries have softened and burst. Stir to prevent the blueberries from burning. Set the blueberries aside to cool down for a few minutes.
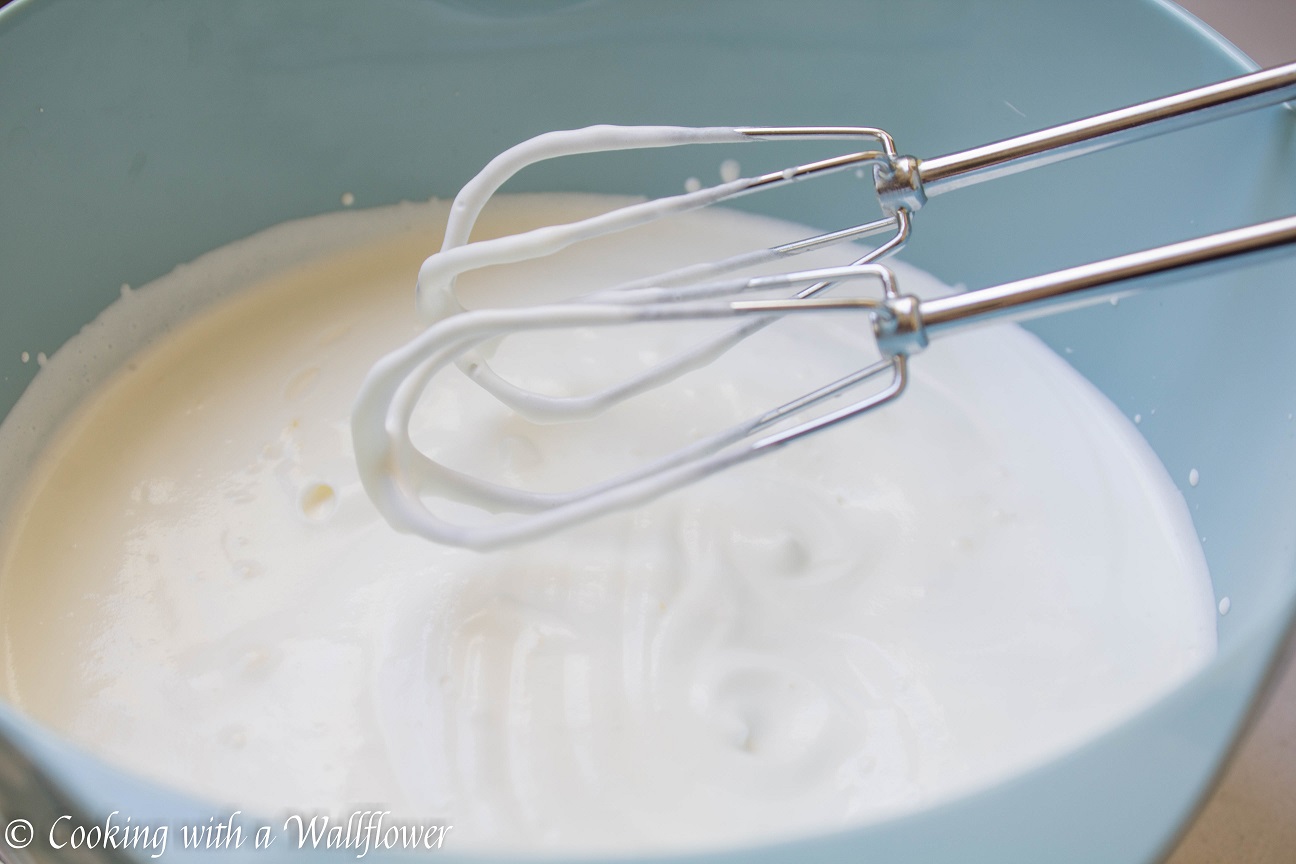
In a large mixing bowl, add cold heavy cream. Use a hand mixer or a stand mixer to beat the heavy cream over medium speed for about 4-5 minutes until the cream is thick and has firm peaks.
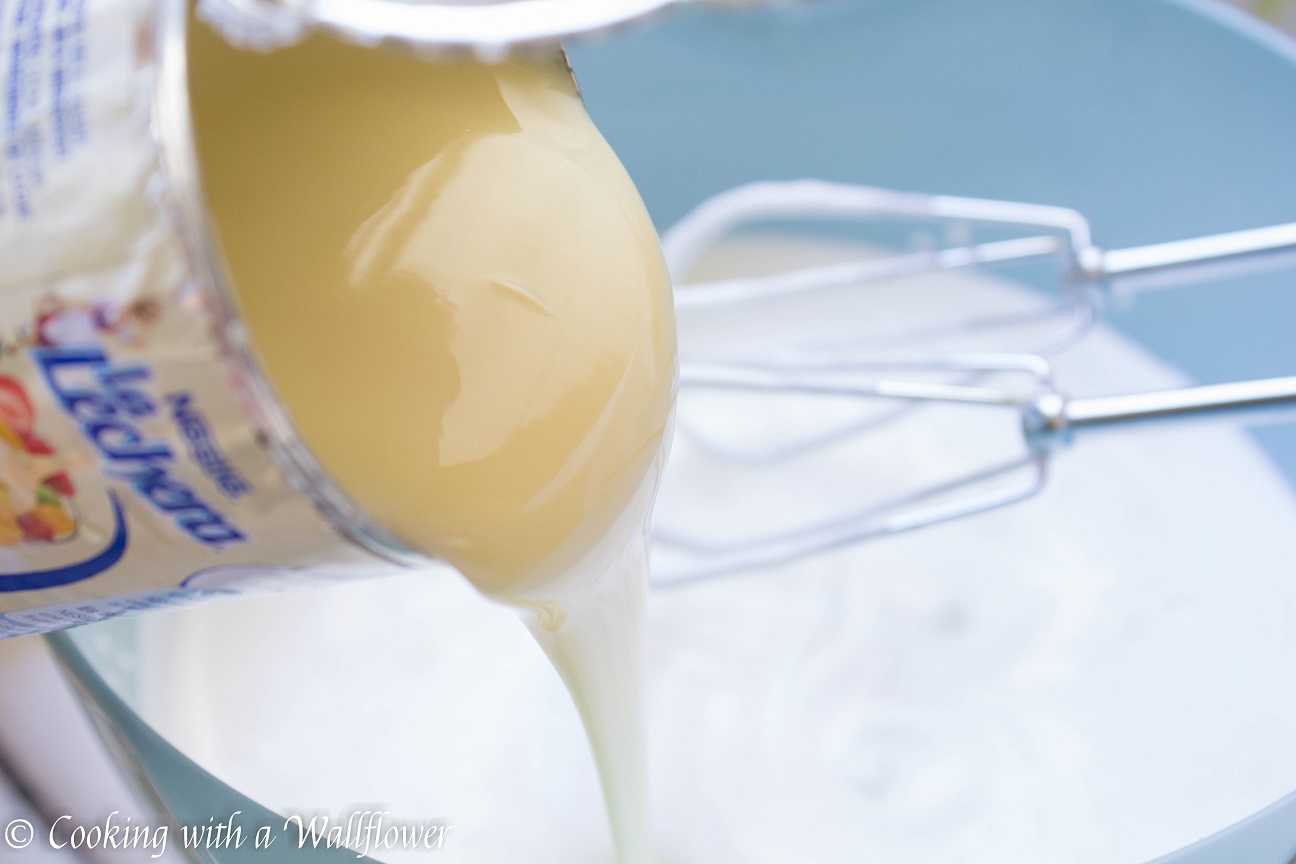
Now, add condensed milk and vanilla extract then beat on low speed until combined. Fold in about 2/3 of the blueberry sauce and create swirls.

Transfer the ice cream mixture to a freezer safe container or into a 9×5 inch loaf pan. For the purposes of easy scooping, I transferred the ice cream mixture into a 9×5 inch loaf pan. But I also have an ice cream container I bought on Amazon for storing ice cream.
Pour the rest of the blueberry syrup on top and create swirls on the surface.
 Freeze the ice cream for at least 6 hours and up to 2 weeks.
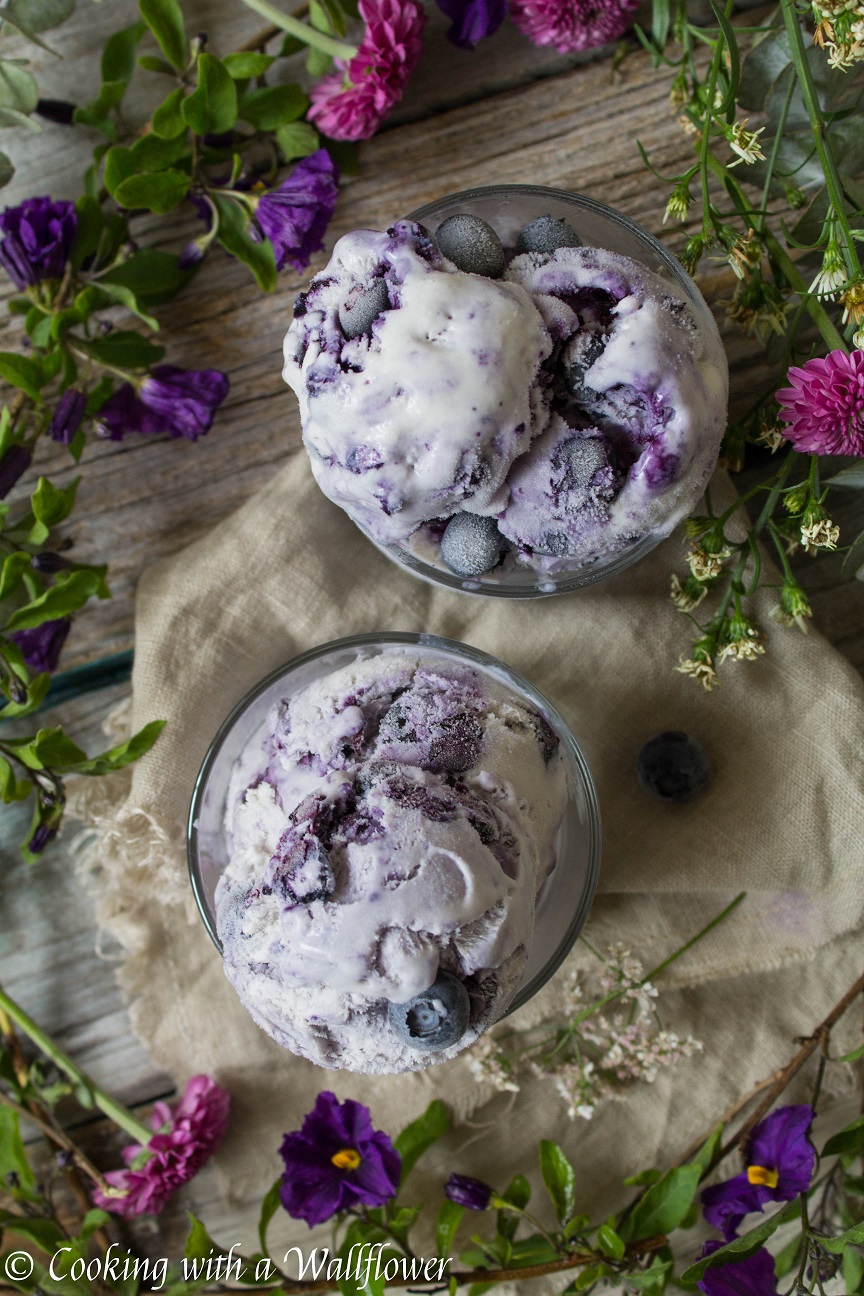
Scoop the blueberry ice cream and serve it immediately.
Enjoy!

- 2 cups blueberries
- 1 tablespoon sugar
- ½ teaspoon cornstarch
- 2 teaspoon water
- 1 pint heavy cream
- 1 14-oz can condensed milk
- 1½ teaspoons vanilla extract
- In a small bowl, whisk together cornstarch and cold water until combined.
- In a small pot, add blueberries, sugar, and the cornstarch mixture and cook for about 5 minutes over medium heat until the blueberries have burst and softened. Stir to prevent the blueberries from burning. Set the blueberries aside to cool down for a few minutes.
- In a large mixing bowl, add cold heavy cream. Use a hand mixer or a stand mixer to beat the heavy cream over medium speed for about 4-5 minutes until the cream is thick and has firm peaks.
- Now, add condensed milk and vanilla extract then beat on low speed until combined. Fold in about ⅔ of the blueberry sauce and create swirls.
- Transfer the ice cream mixture to a freezer safe container or into a 9x5 inch loaf pan.
- Pour the rest of the blueberry syrup on top and create swirls on the surface.
- Freeze the ice cream for at least 6 hours and up to 2 weeks.
- Scoop the blueberry ice cream and serve it immediately.
Looks so yummy!
Thank you, Monique!
Sounds so easy! Blueberries are my favorite! I am making this for sure!
I hope you’ll like it!
Can you ship me some?! 😀
Oh my god, I am going to make it for sure.
I hope you’ll try it, Neerja!
I can’t imagine this lasting 2 weeks in anyone’s household! It looks fabulous 🙂 🙂
Thank you!
Gosh, this is so tempting! Give me some, plzzz… It’s summer here in Indonesia rn…
That looks amazing!
Thank you~!