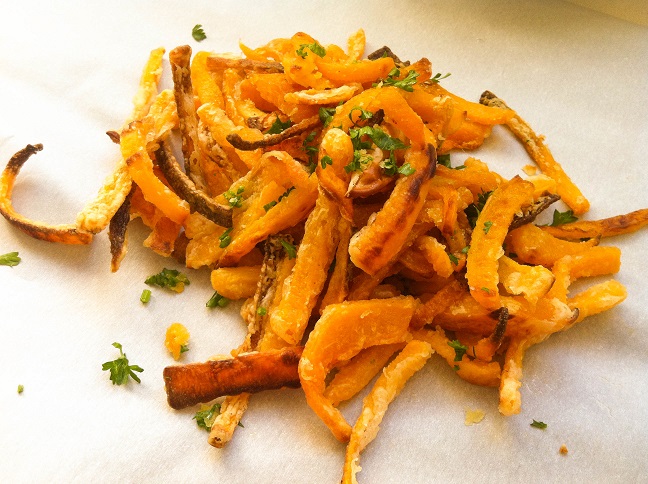
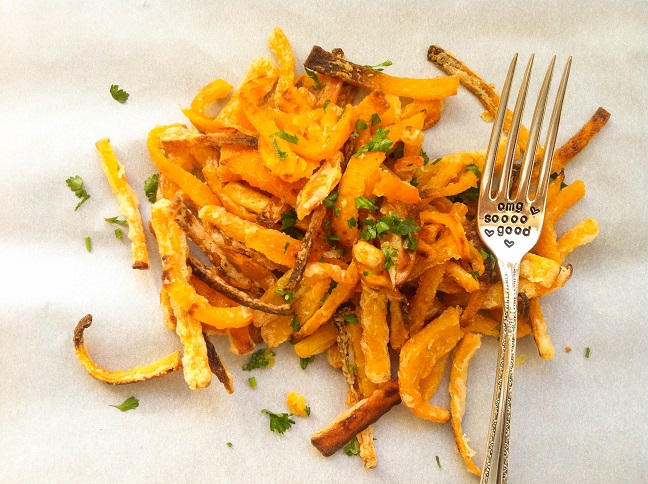
Sweet and rich butternut squash fries lightly seasoned with salt and fresh parsley. Crispy on the outside and soft on the inside, these fries are perfect for the fall season.
Now that October is over, and we’re well into November and quickly approaching Thanksgiving, I think it’s time to move from pumpkin to butternut squash. What do you think?
I actually prefer butternut squash over pumpkin because it has that sweet rich taste I just can’t find in pumpkin.
There are so many things you can do with butternut squash. Have you seenmy Baked Butternut Squash stuffed Manicotti? Or my Mushrooms stuffed with Butternut Squash? The photos don’t do them justice. At the time, I was still learning how to take photos. But I promise you that they taste every bit as good as they sound.
In today’s post, I wanted to share with you guys the recipe for Butternut Squash Fries.
Can we just take a moment to talk about how amazingly delicious and addictive these fries are? They’re sitting above sweet potato fries on my list of “To Die For Fries.” I didn’t even think that was possible.
Butternut squash are naturally sweet and rich so I thought it’d be great as fries, especially for the fall. They may even end up on my Thanksgiving table. I’m still working on our family menu. But for sure, I’ll be bringing these to Fiesta Friday.
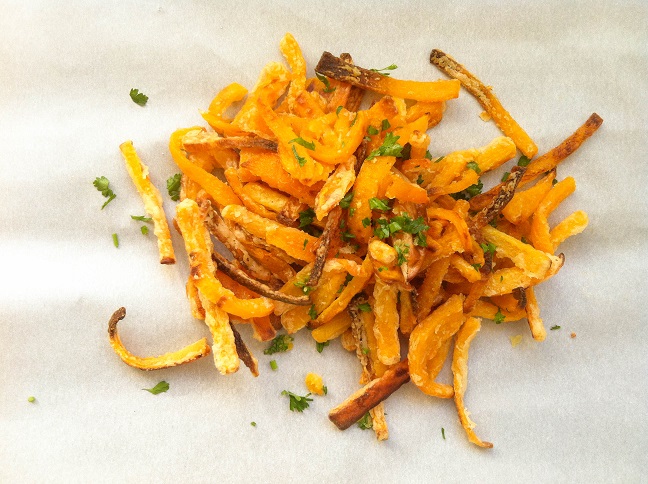
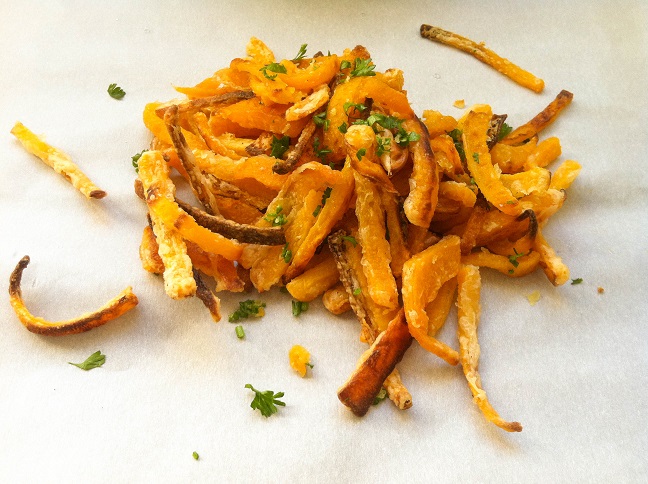
These butternut squash fries are crispy on the outside and soft and sweet on the inside, which is how I love all my fries. While they don’t need seasoning, I do like my fries a bit salty so they’re lightly seasoned with salt and garnished with finely chopped parsley.
The hardest part of this recipe is cutting the squash. I don’t understand why squashes are so ridiculously tough to cut through. I feel none of my knives are up to the task, which is why most of the time I slowly roast them so I don’t have to deal with the cutting. If you guys have tricks and tips on cutting squashes, I’m all ears.
However, these fries are so tasty that it’s completely worth that extra hassle. Try it and see for yourself!
Preheat the oven to 400oF. Line a baking sheet with foil and grease the surface with nonstick cooking spray or with olive oil.
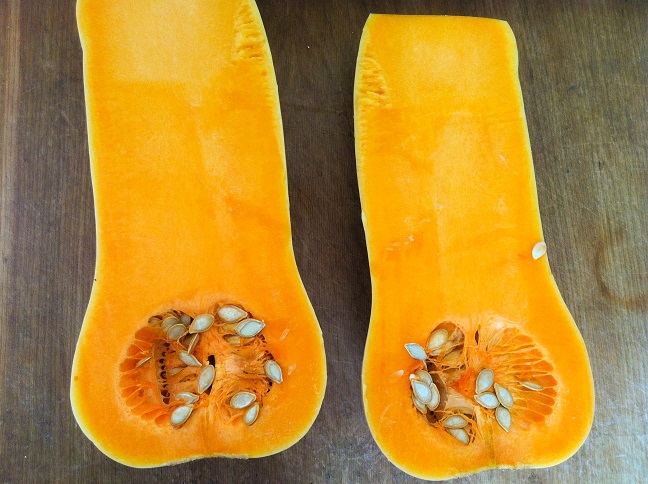
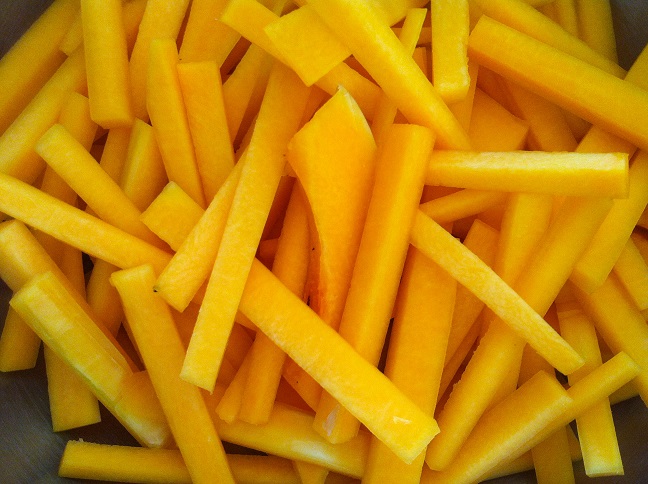
Cut the butternut squash in half and remove the seeds and membrane from the center cavity. I prefer the skins off, so I cut most of it off. But that’s up to you. You can leave them on or cut them off. Slice the squash into about ¼ inch strips. If they’re thin, they’ll cook faster.
One serving is about half a large butternut squash or a whole small one. That may seem like a lot, but it really isn’t. They shrink once you take them out of the oven.
But the thing is once you slice the butternut squash into thin strips, they take a lot of space, especially when you want to spread them out in a single layer. You may want to prep two baking sheets so you can bake two batches at the same time.
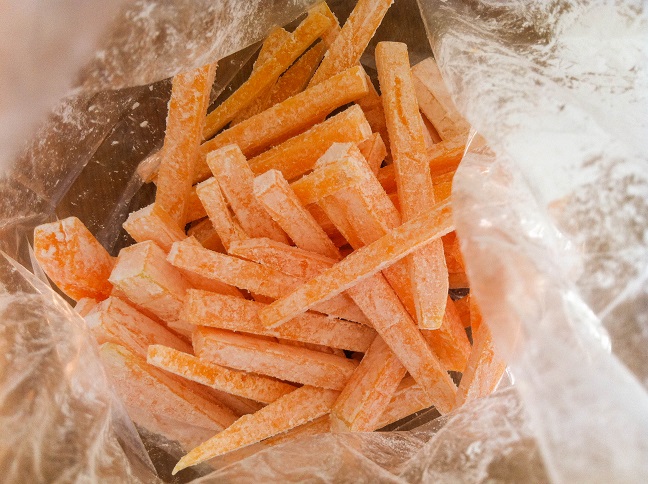
Place roughly (very roughly since it’s hard to measure something so stiff!) two cups of the butternut squash sticks into a plastic bag. Add cornstarch, and shake the bag until the butternut squash is evenly coated with a light layer of cornstarch.
Place the butternut squash in a single layer on the baking sheet. Brush about a tablespoon of olive oil onto the fries.
Bake the butternut squash fries for 15 minutes, then turn the fries, and bake for an additional 15 minutes. You can have two trays baking at the same so that you don’t have to wait.
Depending on the size of the fries, some may be crispier than others.
Repeat this process, until you have the desired amount of fries.
Toss the warm Butternut Squash fries with finely chopped parsley and a pinch of salt to taste.
Enjoy!
Want instant updates? Follow me on Facebook, Twitter, Instagram, or Bloglovin.
- 1 small butternut squash (or half a large butternut squash)
- 2 tablespoons cornstarch, more as needed
- 2 tablespoons olive oil
- 1 teaspoon finely chopped fresh parsley
- Pinch of salt
- Preheat the oven to 400F. Line a baking sheet with aluminum foil, and lightly grease with nonstick cooking spray or with olive oil. If you have a second baking sheet, set that up as well. It may be easier to bake two batches at the same time on different racks.
- Slice the butternut squash in half, and remove the seeds from the center cavity. Peel the skin from the butternut squash if desired.
- Cut the butternut squash into ¼ inch strips. Place about two cups (about half) of the butternut squash into a plastic bag, and add one tablespoon of the cornstarch. Shake the bag until the butternut squash is evenly coated with a light layer of cornstarch.
- Place the butternut squash onto the baking sheet, and brush olive oil to cover all surfaces of the butternut squash. This will help the fries become crispier.
- Repeat with the other half, and place on the second baking sheet. Or wait until the first batch is done to bake the second batch.
- Bake one or both batches at 400F for about 15 minutes, then turn over the fries, and bake for another 15 minutes.
- Once the fries have become crispy, remove the baking sheet from the oven and allow the fries to cool for a few minutes.
- Toss the butternut squash fries with a little bit of salt and finely chopped parsley.
- Serve warm immediately.

Thank you for liking “November Skies.” What an interesting recipe! I agree that butternut squashes are difficult to cut, but they do taste good! 🙂
I hope you’ll like this recipe if you get the chance to try it
Thanks for sharing your recipe, and I hope you have a Happy Thanksgiving! 🙂
Thank you! I hope you had a great one too =)
Wow! These sound great! I’m always looking for new butternut squash ideas. Have you ever tried frying thdm in coconut oil? It’s amazing for frying anything!
Visiting from the Tuesday blog hop, check out my delicious autumn inspired recipe for Pumpkin Coconut Lattes over at nextexitgasfoodlaughter
I haven’t tried frying them in coconut oil. But I’ve heard that coconut oil does a great job of turning things golden brown so I’m planning to work with them in the future =) Thanks, Amber! I’ll stop by your blog =)
Sounds really good!
Thank you!
Wow – what a great idea! They look delicious! I just picked up some extra butternut squash from our CSA’s sale…I think we will have to try this! Thanks for sharing them with us at Foodie Fridays! Pinning!
Oh, and I’m sharing them on my Facebook page tomorrow too!
Thank you!
Thank you so much, Michelle! I really hope you’ll like these fries!
These look incredible! Pinning and making ASAP – I always have butternut squash on hand this time of year.
I hope you’ll like these fries, Jen!
These look awesome. Love the cornstarch tip! I’m trying to figure out how to follow your blog on wordpress, but can’t seem to find the button? Forgive me for asking you to point out the obvious!
Thank you so much, Wren! I hope you’ll like these fries! I’ve been getting that comment a lot lately. If there’s not a black bar over my blog, which there should be, but if there isn’t, is there a follow button under my name in this comment? Thanks for being interested in my blog!
This sounds delicious! Going to try these soon!
Thank you so much, Bill! I really hope you’ll like it!