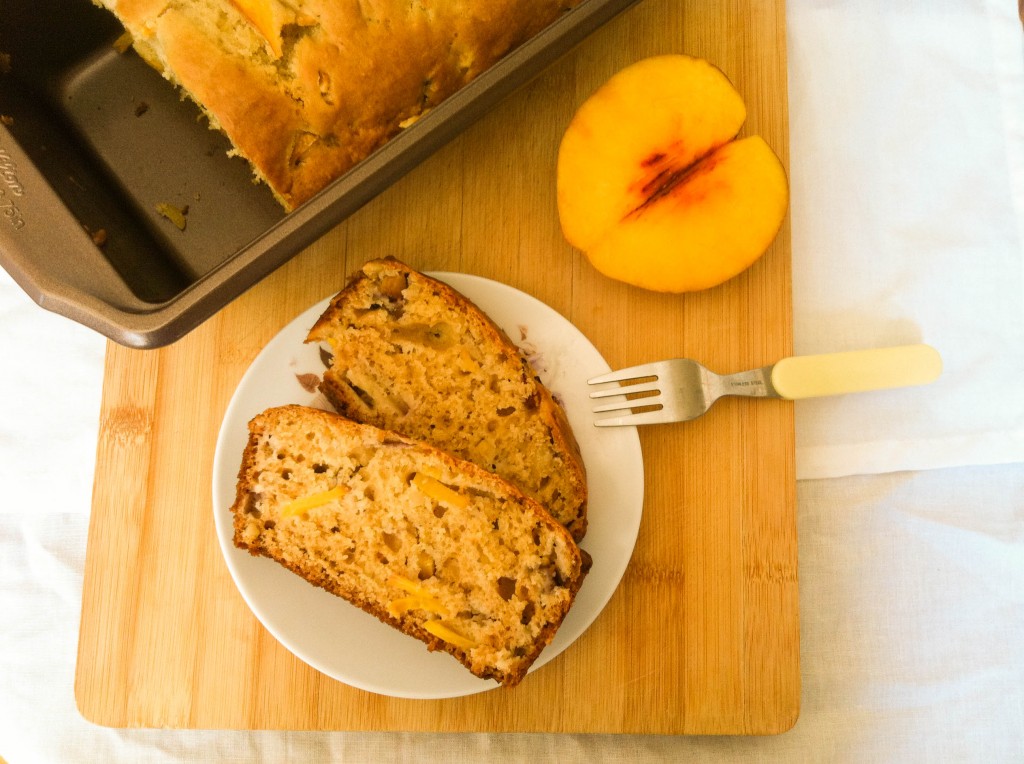
Freshly baked bread filled with sweet yellow peaches and slivers of almond in each bite. Each slice is moist and slightly sweetened, delicious as a breakfast on the go or as an afternoon snack.
I am super excited to share this recipe with you today!
With summer quickly turning into fall, kids going back to school, and peach season coming to an end, I thought that this amazingly moist and tasty Peach Almond Bread is the perfect way to say farewell to one season and welcome in the next. You must try this bread before peach season is officially over! Trust me.
Every bite of this bread is moist, slightly sweet, and contains bits of peaches and slivers of almond. Seriously? How can you say no to such a tasty combination? I even enjoyed eating the end pieces. And that’s saying a lot. I usually avoid the end pieces of bread and leave those behind (for someone else). Yes, I’m one of those people =)
While this recipe isn’t as quick to make as most of my other recipes, I promise you that it’s well worth the wait. Plus, you’ll have enough for breakfast for a few days. Isn’t that great?
Go try it! You won’t regret it!
In the mean time, I’ll be sharing these at the Novice Gardener’s Fiesta Friday=)
First, preheat the oven to 350oF. Grease a 9×5 inch loaf pan with either vegetable oil or nonstick cooking spray.
Slice a peach into small pieces, and set them aside for now. Reserve a few thin slices of peach for the top of the bread.
In a large bowl, mix together the flour and the baking soda.
In a separate medium bowl, beat a large egg, add in the sugar, vanilla extract, buttermilk and vegetable oil. Whisk the ingredients until they are mostly combined.
Pour the wet ingredients into the dry ingredients. Gently mix the ingredients until they are just incorporated. You don’t want to overmix the batter. It will make the bread less soft.
Add the bits of peaches and slivers of almond, and gently fold them in.
Pour the batter into the loaf pan. Top the loaf with thinly sliced peaches.
Place the pan into the oven and bake for about 40 minutues. After 40 minutes, remove the bread from the oven and cover with foil to prevent the top of the bread from becoming too brown and dry.
Bake for an additional 10 minutes. Then check to see if the bread is done by inserting a toothpick into the bread. If it comes out clean, it is done. If the batter clings to the toothpick, bake for a little longer. Continue to keep a close watch on the bread. My loaf was done in exactly an hour, but each oven bakes differently so the times will be different.
Once the bread is done, set it aside to allow it to cool for several minutes before slicing into the bread.
Serve the bread slices warm or cold.
Enjoy!
Want instant updates? Follow me on Facebook, Twitter, Instagram, or Bloglovin.
[amd-zlrecipe-recipe:26]


I’m getting some peaches this weekend and will definitely be trying this recipe. Thanks so much for the post!
You’re welcome! Hope you’ll like it!
Sounds wonderful!
Thank you!
So…I’m sitting here at work hungry and bored. This post just made my stomach growl and jump. The next time you bake this, feel free to mail me a loaf! 🙂
lol. But it wouldn’t be fresh anymore! =)
I think I’m in love with this recipe, at first sight. I’m getting in the kitchen with this one on Saturday morning!!! Thanks for posting it!
I really hope you’ll like the recipe =)
lovely recipe and lovely pictures too
Thank you so much!
Looooooks yummos
Thank you!
Looks amazing!
Thank you!
love the braid you have put on in your profile pic andrea… Also, freshly baked bread is always a gift!!!! Lovely post..
Thank you so much! The braid is actually two regular braids weaved into a five strand braid. lol. It takes forever to do at first!
Oh wow!!! sounds intricate.. loved it..
Thank you so much!
I’m going to try this one today or tomorrow–any ideas for a non dairy substitute for the butter milk? If not, I’ll just use regular soy milk!
I would try adding a T. vinegar per cup of whatever kind of milk you use…that’s what I use when I don’t have buttermilk.
I haven’t tried this recipe with non dairy substitutes so I’m not sure how it will turn out. If you give it a try, let me know how it turned out =)
So yummy, Andrea! Just love this combo! 😀
Thanks, Julianna! I love the combo too =)