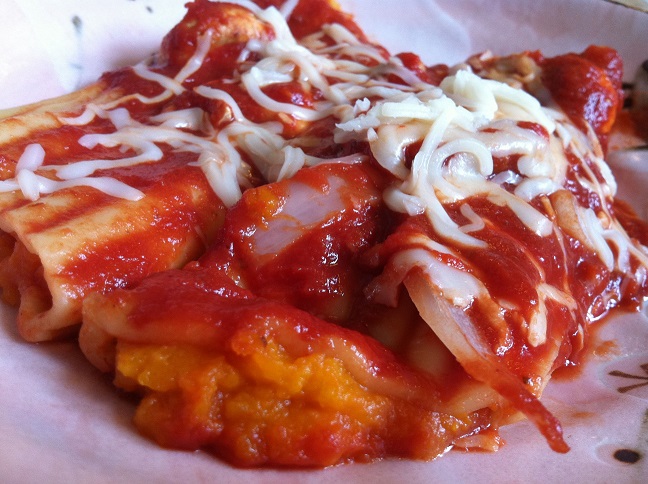
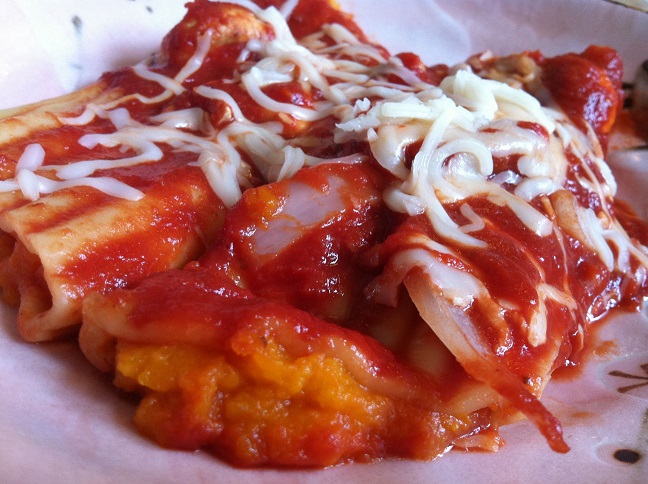
Delicious manicotti pasta stuffed with rich creamy maple flavored butternut squash and topped with a warm garlicky tomato sauce. Slightly sweet, a little bit garlicky, and very cheesy, this is a recipe you’ll want to make over and over again.
I have a major obsession with noodles, pasta included. I can probably eat noodles for every meal and not be tired of it. So of course, when I have a new recipe for a pasta dish, I can’t wait to share it with you guys!
These manicotti pasta stuffed with butternut squash are so delicious and healthy, you’ll definitely want to make it again and again. I love the natural sweetness and creaminess of butternut squash. Paired with the slightly saltiness of the tomato sauce and all that cheesy goodness, your pasta will be bursting with all sorts of flavors.
While this recipe is relatively easy to make, it does require a little bit of planning ahead of time. Why? In order to get the butternut squash to soften and become creamy, you’ll have to slowly roast it in the oven for 1 ½ – 2 hours. But it’s soo worth it.
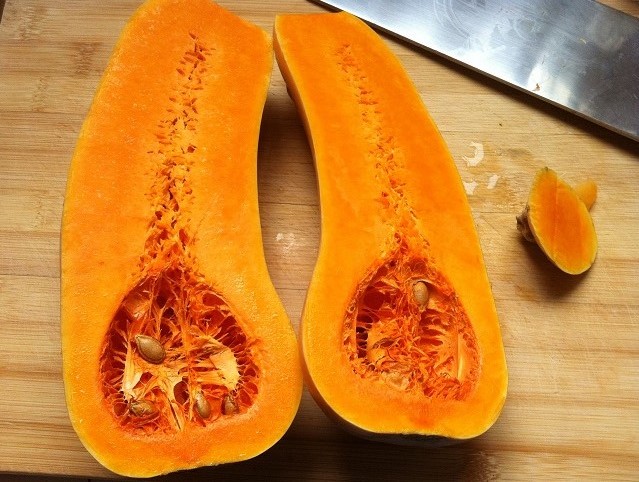
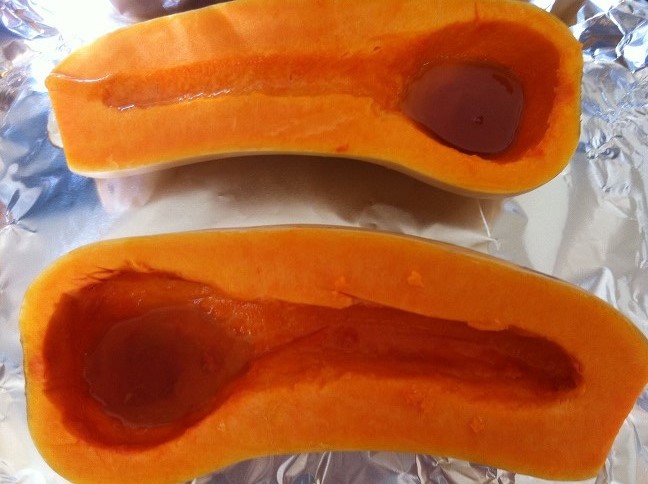
First, slice the butternut squash in half. Be very careful when you do this because like most squashes, they are difficult to slice through. You want to make sure that you don’t accidentally slip while cutting and hurt yourself.
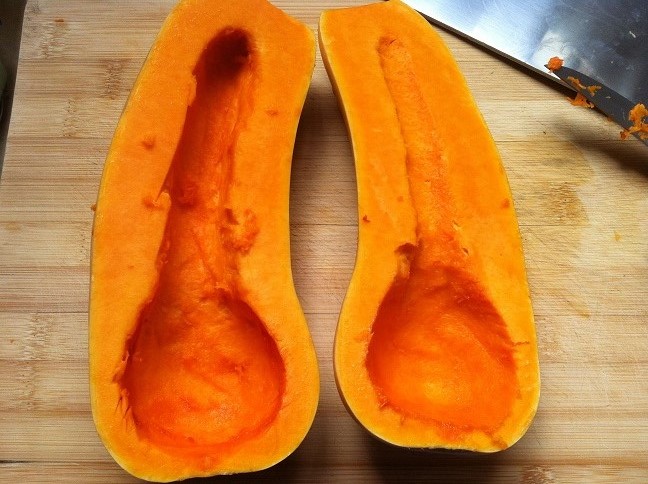
Using a spoon or a small knife, carve out all the fibers and seeds that are in the center of the squash. As you can see, I had trouble cutting my squash perfectly in half so one side is bigger than the other.
Add one tablespoon of maple syrup to each of the cavities. Spread the syrup around so that the maple syrup covers the walls of the butternut squash. Place the squash onto a baking pan lined with foil. Then pour about a cup of water into the pan. This will keep some moisture inside while the squash is roasting. Cover the butternut squash with boil. Place the baking pan into the oven and roast at 350oF for 1 ½ – 2 hours. The butternut squash will be ready when it has softened to the point where it can easily be scraped off from the outer skin and appears creamy.
While the butternut squash is baking, prepare the tomato sauce and the pasta.
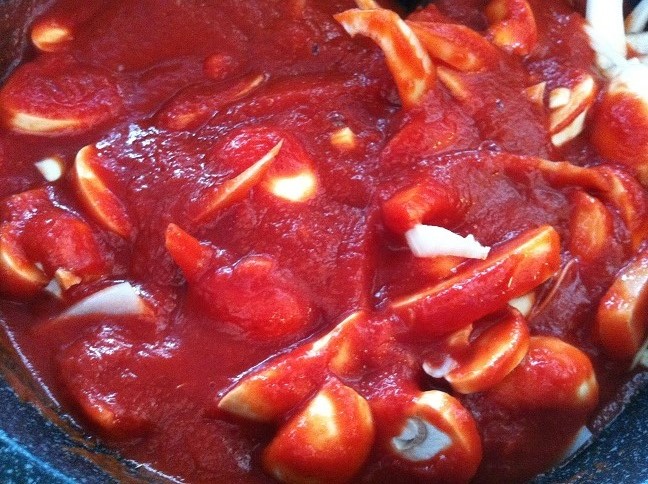
In a medium sized skillet, add about a tablespoon of olive oil over low heat. Allow the olive oil to heat about 30 seconds to a minute. Add in minced garlic and stir to cook evenly and to prevent them from burning. Cook the garlic until it starts to turn a golden brown. Then add in the onions and mushrooms. Cook for a few minutes to allow them to soften a little. Pour in the tomato sauce and stir to evenly incorporate all the ingredients. Add salt and any other seasoning to taste. Turn off the heat and set aside for now.
The reason why I recommend cooking the sauce beforehand is to make sure that the mushrooms and onions are thoroughly cooked. The pasta won’t be in the oven long enough for the mushrooms and onions to cook so it’s important to cook it first before placing it into the oven.
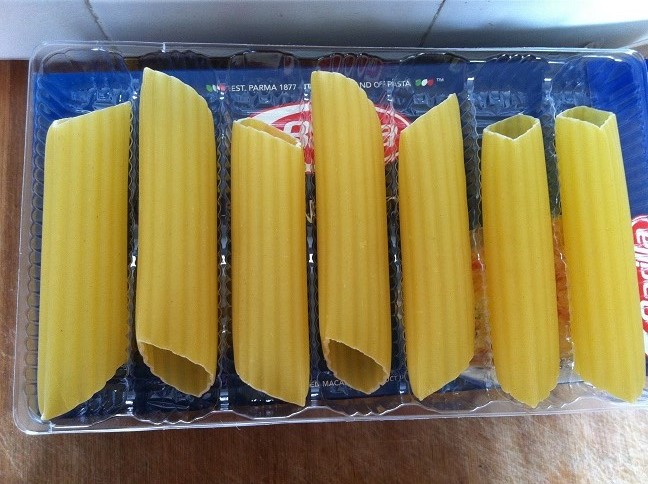
In a medium sized pot, cook the manicotti pasta according to the box. I only cooked about 7-8 manicotti pasta because I felt that the butternut squash is rich and creamy. You won’t need a lot to feel full. The box told me that it would take about 7-8 minutes for the manicotti pasta to be al dente. But I personally wanted these to be softer so I cooked it for an extra 2-3 minutes.
Once the manicotti pasta is cooked to the softness of my liking, I drained the water and ran them through cold water. By running the pasta through cold water, I keep the pasta from continuing to cook and prevent them from sticking to each other. This is very important because you don’t want the pasta to close up. How would you stuff each of the manicotti if it’s sticking together?
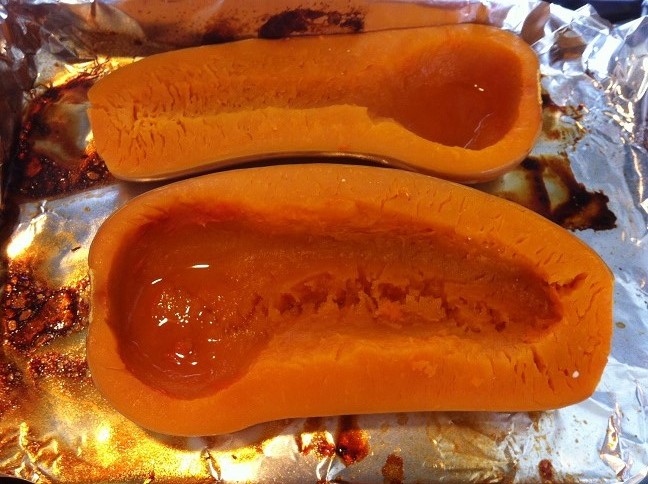
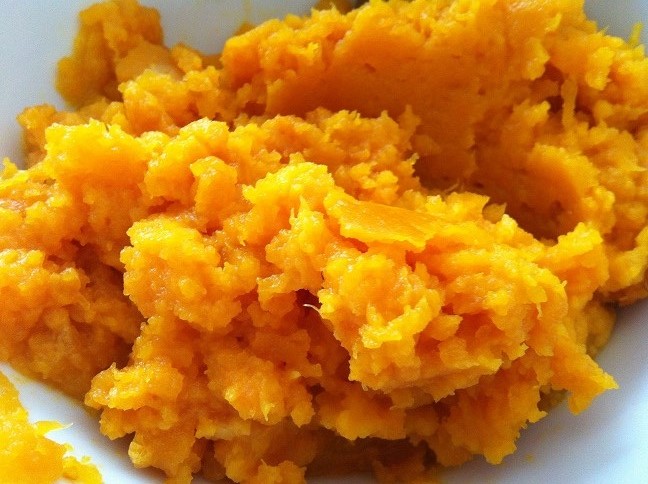
Once the butternut squash is cooked, I removed them from the oven and scraped the inside off from the outer skin. If you don’t add enough water to the pan, this is what happens. The foil starts to burn.
The butternut squash will come off easily and appear like mashed potatoes, without exerting any effort. =) The butternut squash will be creamy, but if you want it to be even creamier, add heavy whipping cream and mix thoroughly.
Allow the butternut squash to cool down for a few minutes. It’s so much easier to handle that way.
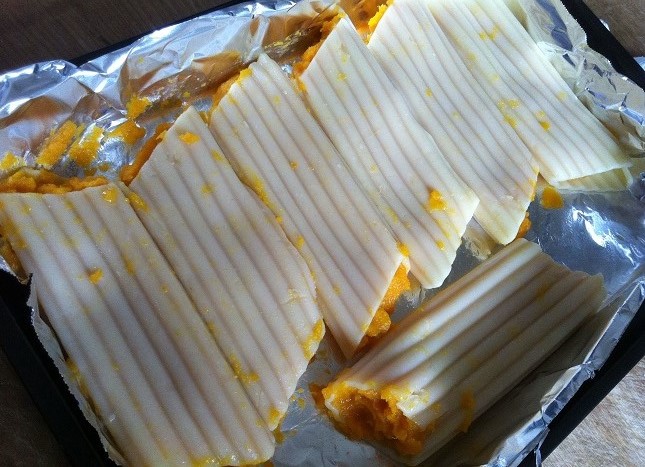
Use a small spoon to scoop the butternut squash and stuff it inside the manicotti. I recommend trying to place it in the center first and then working your way to the ends. I actually didn’t stuff the manicotti so that it’s nice and round. I stuffed it so that it’s slightly raised from the butternut squash but not bursting. If you want to stuff more into each manicotti, go right ahead, but make sure that there’s enough filling for all of the manicotti. Place the stuffed manicotti onto a baking pan lined with foil.
I know, it looks messy, but you won’t even notice it when you pour on the tomato sauce.
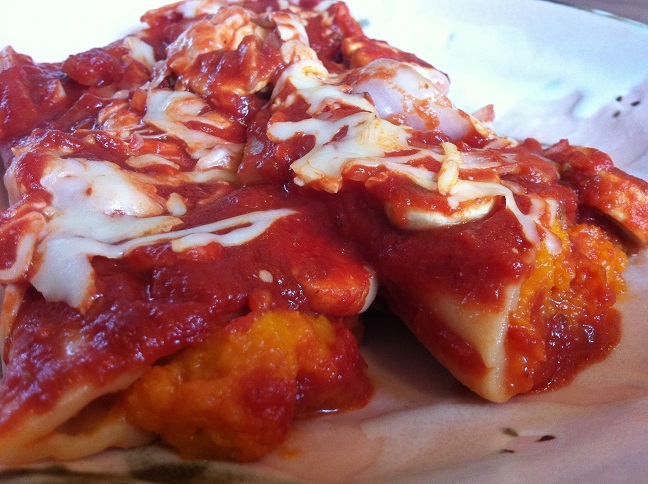
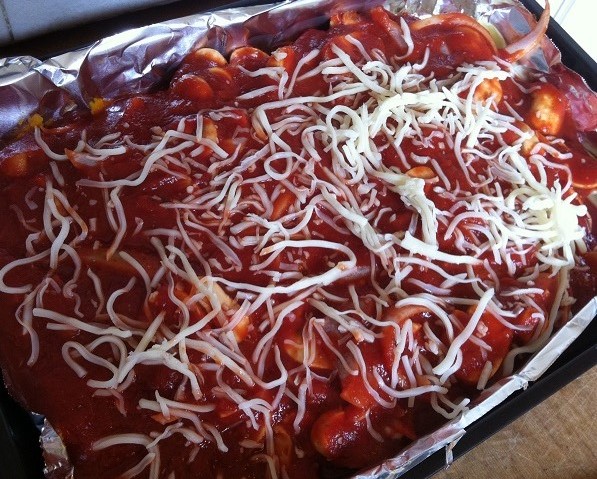
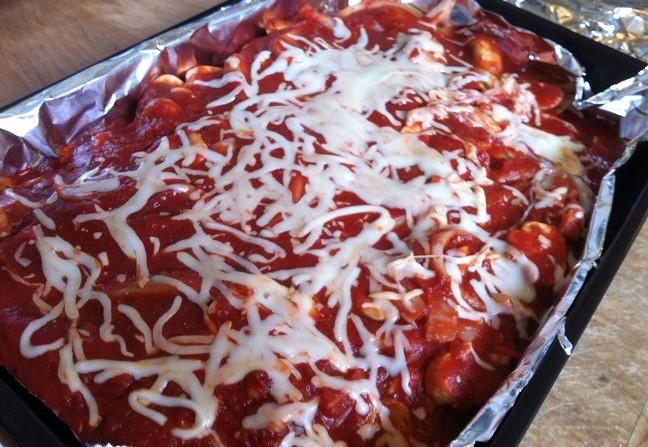
Pour on the tomato sauce and top with cheese.
Bake the pasta in the oven at 350oF for about 15 minutes until everything is nice and warm and the cheese has melted into gooey goodness.
Serve about 2-3 stuffed manicotti per plate. Enjoy!
- 1 medium sized butternut squash
- 2 tablespoons maple syrup
- 1 cup water
- 2 tablespoons heavy whipped cream (optional)
- ½ box of manicotti pasta
- 1 jar of tomato sauce
- 1 cup of mushrooms, sliced
- ½ of an onion, sliced
- 4-5 cloves garlic, minced
- ½ cup shredded mozzarella cheese (optional)
- Salt to taste (optional)
- Wash the butternut squash, and slice it in half. Use a spoon or a knife to carve out the fibrous center and the seeds. Add a tablespoon of maple syrup to each cavity of the butternut squash. Spread the maple syrup around so that it coats the entire cavity wall.
- Place both halves of the butternut squashes into a baking pan lined with foil. Pour in about 1 cup of water so that the baking pan is covered with water. Cover the pan with foil and roast the squash for 1½ - 2 hours at 350F until the squash has softened and appears puree like.
- While the butternut squash is roasting, prepare the tomato sauce and the pasta.
- In a medium sized skillet, heat about a tablespoon of olive oil over low heat. Add in garlic and cook until they turn golden brown. Be careful not to burn them. Add in sliced onions and mushrooms. Cook them until they have softened. Pour in the tomato sauce and stir to evenly incorporate the ingredients. Set aside for now
- In a medium sized pot, cook about 7-8 manicotti pasta according to the directions on the box. Cook until the pasta has softened to preference, about 8-10 minutes. Drain the pasta and run through cold water to prevent it from continuing to cook and from sticking to each other.
- Remove the squash from the oven and allow it to cool down enough to handle. Scrape the squash from the outer skin into a medium sized bowl. For a creamier texture, mix in the heavy whipping cream.
- Use a small spoon to stuff the butternut squash into the manicotti. The filling does not have to be very thick.
- Line a 9x13 inch baking pan with foil. Lightly grease with cooking oil spray.
- Place the filled manicotti pasta onto the baking pan.
- Pour the tomato sauce over the manicotti pasta. Top with mozzarella cheese. Bake in the oven at 350F for about 15 minutes. Remove from the oven and plate the pasta.
- Serve warm.
This recipe looks to die for! Who knew butternut squash was so versatile? Thanks for likuing my post on ketchupandfrogsoup.com! Much appreciated!
You’re welcome! And thank you for visiting!
This looks so good… I have a question though… I have cooked winter squash in the microwave ..ie: cook for approximately 10min. upside down and then since our son who loves it has a sweet tooth I would put butter and some brown sugar in it and cook it for another 7 min. approx. right side up… could i cook this type of squash the same way?? Diane
I’m not sure since I haven’t cooked butternut squash that way before. But I don’t see why not. It might take longer than the winter squash though. You can also cut into smaller pieces before microwaving. If you try it this way, let me know how it turns out. I’m curious. =)
oh my gosh I don’t know why I haven’t followed you before but this looks AMAZING. Followed!
Thank you so much, Melissa!
I thought I’d stop by your blog (thanks for the like by the way), and saw this! Amazing! It looks delicious and I’m sure my kids would love it. Love the rest of your blog too, am so glad I found your site 🙂
Thank you so much, Lydia! I hope you’ll like the recipe if you give it a try. =)
A lovely mixture of flavours – I always hate trying to stuff this type of pasta though and so I tend to avoid actually making dishes like this, even though I know I would love it.
It’s not as bad as I thought it would be. Just a little messy. Sometimes it feels like you put so much work in making your meal and it’s all gone in a few minutes. lol.
Looks delicious!
Thank you!
My favorite! I’ve made something, ‘similar’ and it is soooo good. Your recipe looks better, though. I’m going to try it. 🙂
I’m sure your recipe is just as good! I hope you’ll like it when you give it a try =)
I think your’s looks better. 🙂 Love the squash!
Beautiful inviting idea. Never have made manicotti before — how can that be? I think of it as Difficult! because I presume it requires a complex meaty filling that would take many steps and be justifiable only as a big party dish. Simplicity of sweet wonderful butternut squash filling makes me see how do-able this is. And clearly delicious.
Thank you! And I know what you mean! I wasn’t sure how hard it’d be to do this. But it’s pretty easy to put in the butternut squash if you work from both ends. And since butternut quash is so rich and creamy, you don’t need a lot of it to be filled. If you decide to make this recipe, I really hope you’ll enjoy it =)
We will follow you with interest as cooking is close to our hearts. Thank you for following our blog.
Thank you! Your blog is so unique! =)
Looks delicious 🙂
I also love all things pasta! And I love butternut squash so I am looking forward to trying this one. Thanks!
You’re welcome! I hope you’ll like the recipe!
I will touch back and let you know!
Thank you!