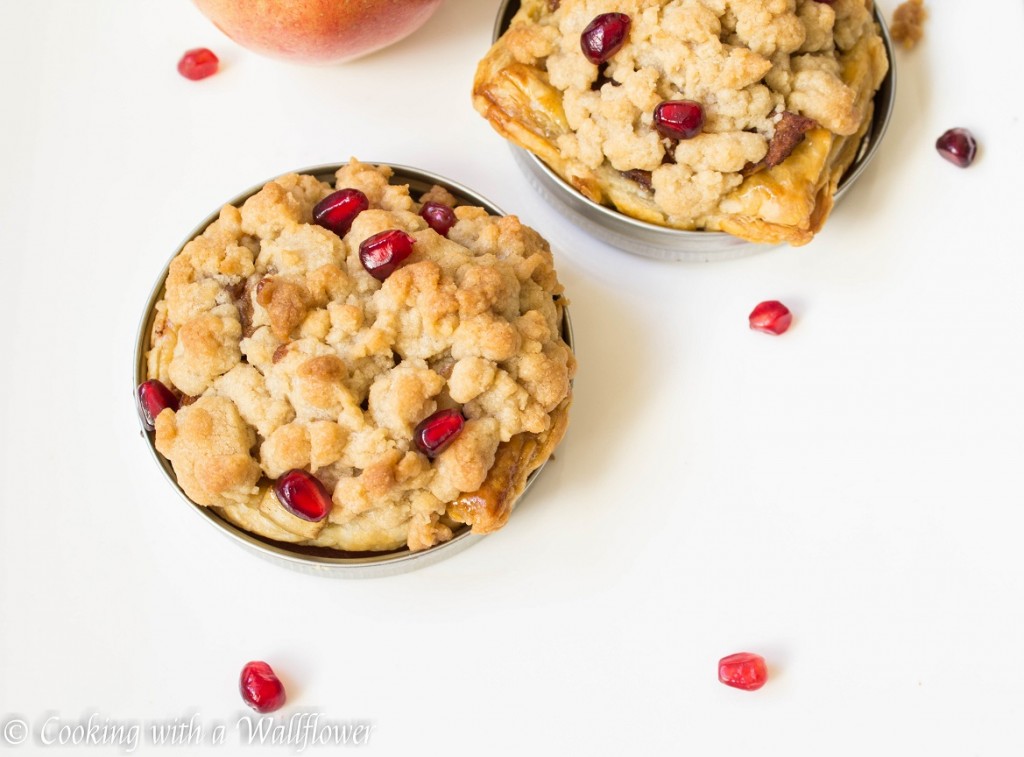
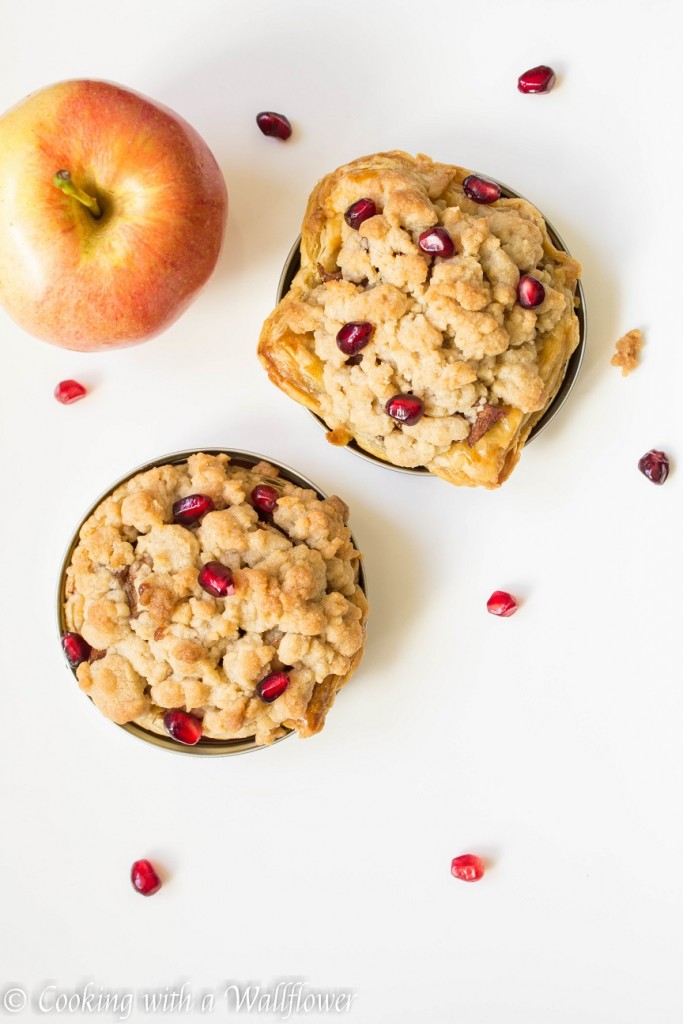
Mini apple pies topped with a brown sugar crumble and baked in mason jar lids. These mason jar lid apple crumble pies are so delicious and individual sized.
You guys! I’m super excited!!
Today marks exactly two years since I started this blog! Can you believe that Cooking with a Wallflower is already two years old?
I definitely can’t.
Soo many things have happened in these past two years. Good things. Big things. When I started this blog back in 2013, I only wanted to take my mind off the stresses of life. I had no idea that this blog would be where it is today. Or that I would learn so much in these last two years.
Thank you so much for all the support you’ve shown me and this blog.
And I can’t wait to share more milestones with you in the years to come. =)
In the meantime….
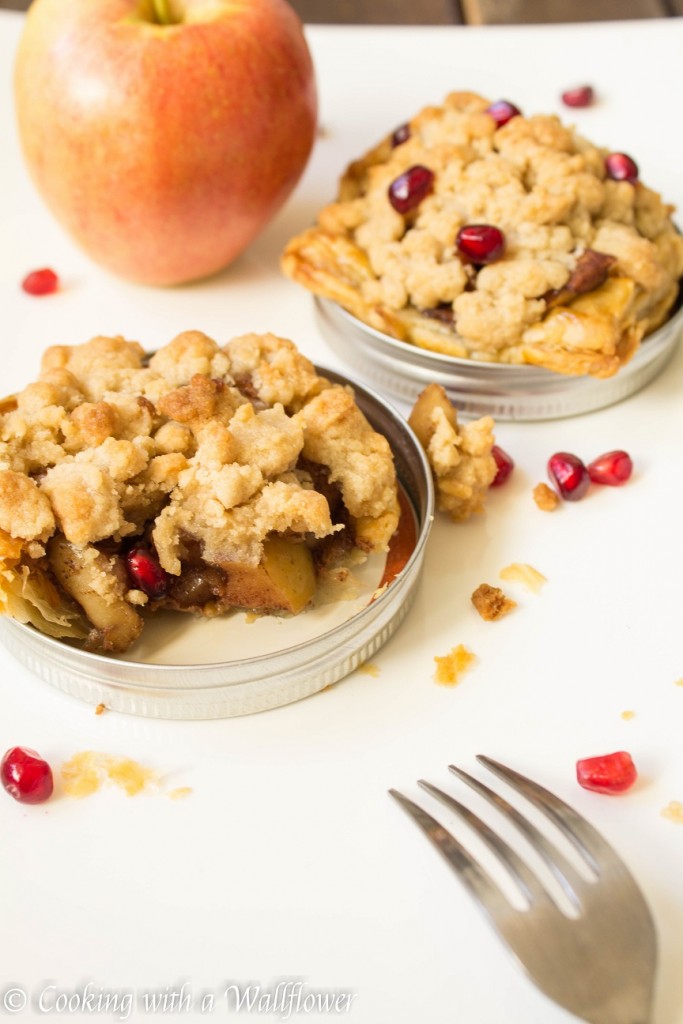
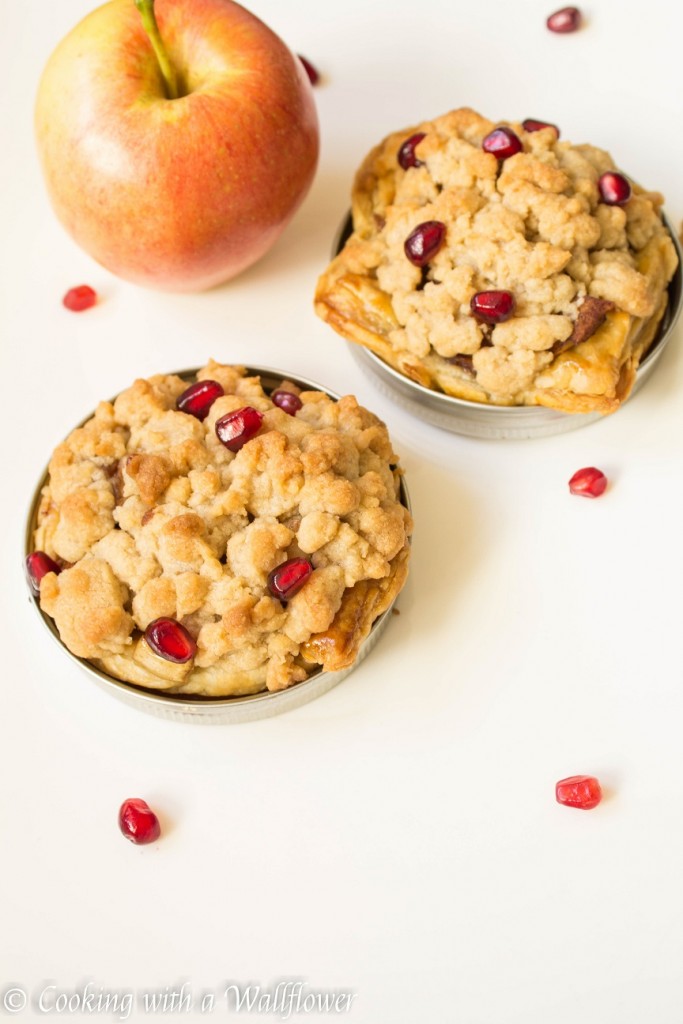
Let’s celebrate my two year blog anniversary with these apple crumble pie baked in mason jar lids. They’re so cute and perfect for individual servings. Although, I have to be honest, I really piled the apple pie filling and the crumble high. Then, because I couldn’t resist adding a little color, I sprinkled pomegranates over the brown sugar crumble.
I love the extra crunch that the puff pastries provide. I love the sweetness of the apple pie filling. And oh my gosh, don’t even get me started on the crumble! I can just eat that and be happy =)
First, preheat the oven to 400F.
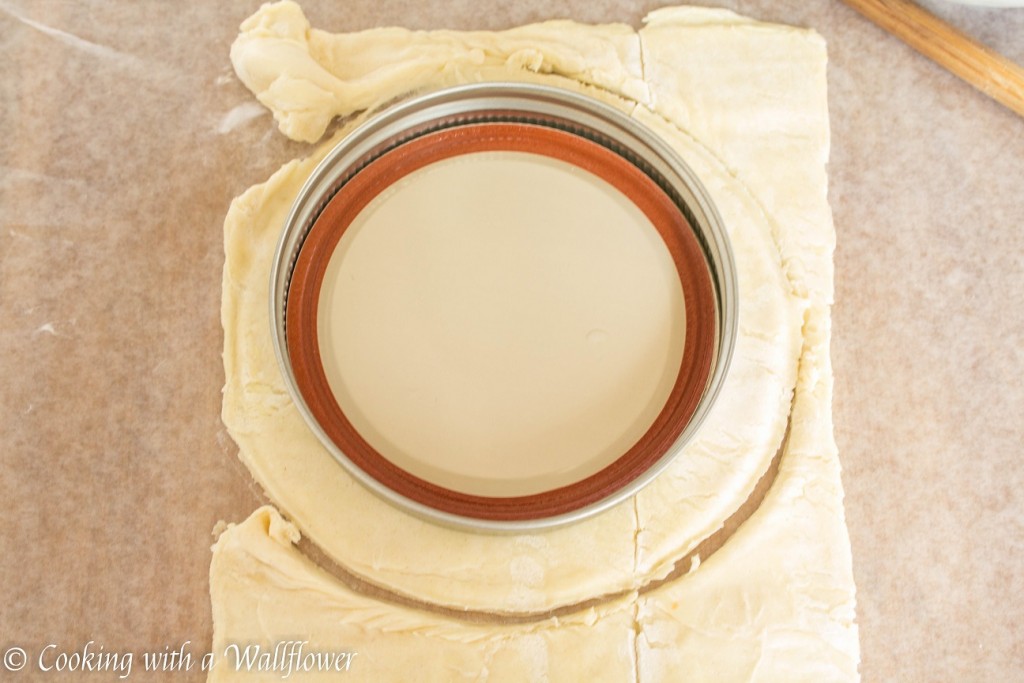
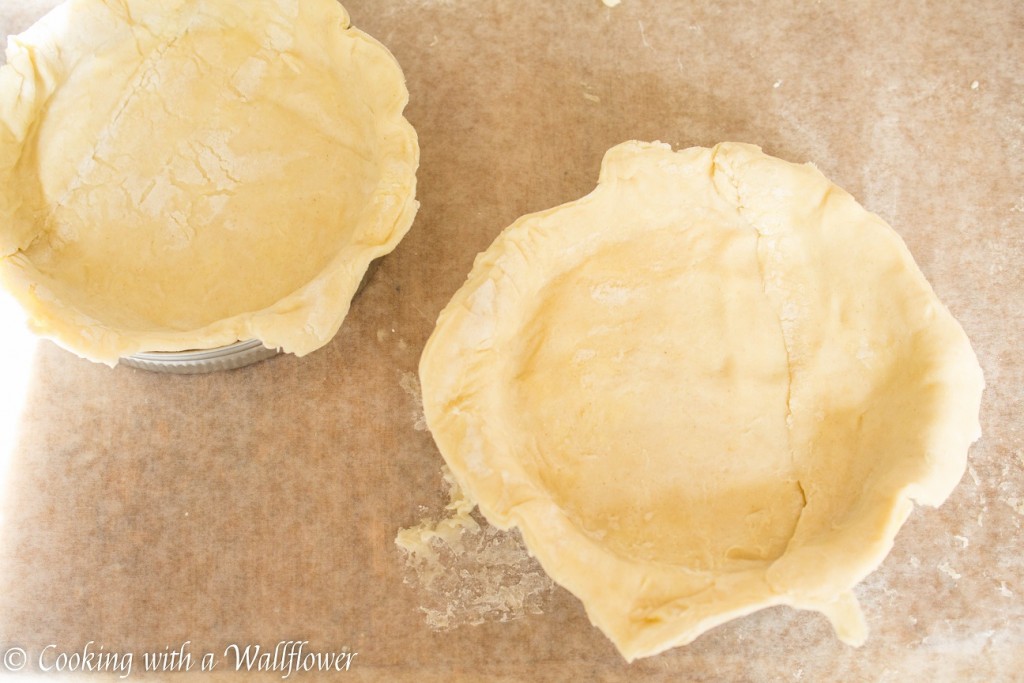
Roll out the dough as thinly as possible. I used puff pastry, but you can use pie dough too. Place the mason jar lid on top and cut around ¼” away from the lid. Or you can use a bowl that is slightly larger than the mason jar lid to trace around. Press the dough against the lid and let the end hang over the edge of the lid. Brush the egg wash over the top to help the pastry turn a golden brown.
Place the lids on a baking sheet or pan and bake them for about 10 minutes.
While the crust is baking, add diced apples, water, cinnamon, clovers, nutmeg, brown sugar, and granulated sugar into a small pot. Allow the apples to cook for about 10-15 minutes until the apples are soft.
Remove the crust from the oven. If the center has puffed up, use a fork to press the center down. Spoon the apple pie filling into the center of the crust.
In a medium sized bowl, add all purpose flour, butter, and brown sugar. Mix the ingredients together until they are well combined and appear like pea sized crumbs.
Scatter the crumbs over the apple pie filling until it completely covers the apples.

Turn the temperature of the oven down to 350F.
Bake the apple pies for an additional 15-18 minutes or until the top has turned brown.
Remove the apple pie crumbles from the oven and allow them to cool for a few minutes.
For a pop of color, sprinkle pomegranates over the crumble.
Serve the mason jar lid apple crumble pie warm.
Enjoy!
Come join me and other food bloggers at Fiesta Friday!
- 1 puff pastry sheet or pie crust dough
- 1 large egg, beaten for egg wash
- 2 small gala apples (about 2 cups diced), or apple of your choice
- ¼ cup water
- ¼ teaspoon ground cloves
- ¾ teaspoon ground cinnamon
- ⅛ teaspoon nutmeg
- 2 tablespoons granulated sugar
- 3 tablespoons brown sugar
- ½ cup all purpose flour
- ¼ cup brown sugar
- ¼ cup room temperature butter
- Pomegranate seeds for garnish
- First, preheat the oven to 400F.
- Roll out the dough as thinly as possible. Place the mason jar lid on top and cut around ¼” away from the lid. Or you can use a bowl that is slightly larger than the mason jar lid to trace around. You’ll need about 4. Press the dough against the lid and let the end hang over the edge of the lid. Brush the egg wash over the top to help the pastry turn a golden brown.
- Place the lids on a baking sheet or pan and bake them for about 10 minutes.
- While the crust is baking, add diced apples, water, cinnamon, cloves, nutmeg, brown sugar, and granulated sugar into a small pot. Allow the apples to cook for about 10-15 minutes until the apples are soft.
- Remove the crust from the oven. If the center has puffed up, use a fork to press the center down. Spoon the apple pie filling into the center of the crust.
- In a medium sized bowl, add all purpose flour, butter, and brown sugar. Mix the ingredients together until they are well combined and appear pea sized.
- Scatter the crumbs over the apple pie filling until it completely covers the apples.
- Turn the temperature of the oven down to 350F.
- Bake the apple pies for an additional 15-18 minutes or until the top has turned brown.
- Remove the apple pie crumbles from the oven and allow them to cool for a few minutes.
- For a pop of color, sprinkle pomegranates over the crumble.
- Serve the mason jar lid apple crumble pie warm.


Happy blog-anniversary! Plus these look delicious!
Thank you!
I just love this idea – so cute & pretty, very clever x
Thank you! =)
Yum, looks delicious!! And Happy Anniversary!
Thank you!
Images look great! Very good shots!
Congrats. here is a little tribute: [youtube http://www.youtube.com/watch?v=buPWg7OFwyI&w=420&h=315%5D
Thank you!
Congratulations – keep it up
Thank you!
congratulations! And what a recipe to celebrate with – my favourite, apple crumble! Can’t wait to try. 🙂
Thank you! Hope you’ll like it!
Congratulations on the blog-iversary! These look wonderful. Love the pomegranate seeds! And where on earth did you get the idea of the mason jar lids?
Thank you! I’ve actually seen the mason jar lid pies on Pinterest. lol
Happy anniversary for your yummy blog, Andrea!
Thanks, Dana!
Congratulations on your two year anniversary!
Wish I had some of those lids now. I tried your apple pie recipe and, although it took me much longer because I couldn’t get the base to cook, it was delicious.
Thank you!