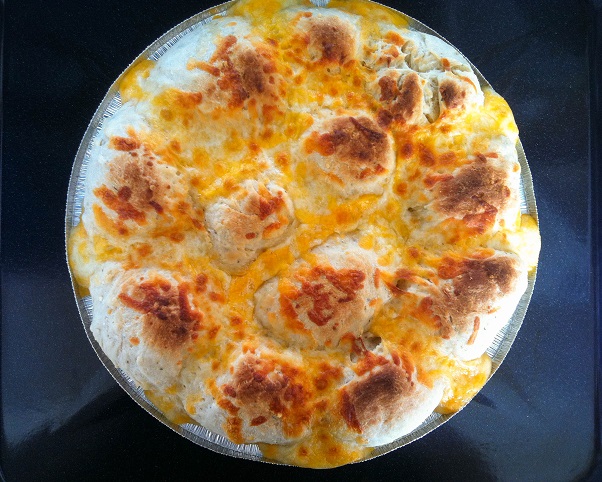
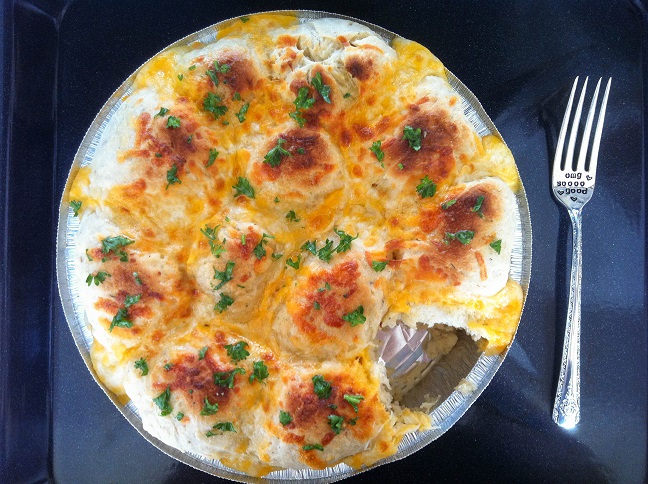
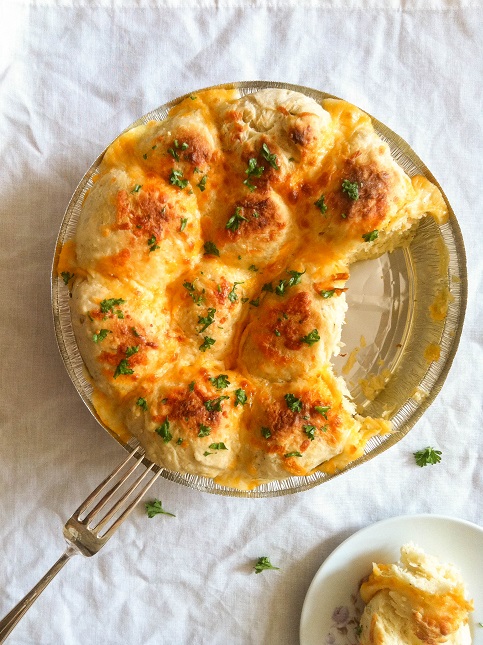
Warm garlic bread with melted cheese in every single delicious bite. Crunchy on top and soft on the inside, this cheese garlic pull apart bread is perfect for serving guests.
I swear I’m addicted to this pull apart bread. I’ve made it twice in less than two weeks and it’s pretty much gone as soon as it’s out of the oven.
It’s so strange. As a kid, I didn’t like cheese. I avoided it unless it was on my pizza, and that’s only because if I took off the cheese, there’s not much left on that pizza… So imagine my surprise to discover just how much I loved it while I was in college. Not all types of cheese though. Some are way too strong for my taste buds. But mozzarella, cheddar, brie, pepperjack… In my salads, check. On my bread, check. On my baked shrimp, check. And if this recipe doesn’t show how much I love cheese, I’m not sure what would…
This cheesy garlic pull apart bread is partially inspired by Red Lobster’s Cheddar Bay Biscuits. Have you ever had those? They’re soo good, and addictive, and probably smothered with butter. Buy hey, it’s not as if I eat them all the time. I’ve been to Red Lobster a total of three times. lol. But the biscuits made a huge impression on me. And it’s not like I’m eating it all by myself either.
And guess what? I conquered my fear of yeast!! Can you tell how proud I am of myself? You can see my disastrous Hawaiian rolls from my first time using yeast here. I thought that attempt would scare me from playing with yeast for awhile, but nope! And I’m soo glad! Because if I stayed away from yeast, I wouldn’t have these amazing cheesy garlic pull apart bread, right?
The cheesiness, oh my gosh, the cheesiness. I love that when I break the bread apart, melted mozzarella cheese oozes out. And every bite I take has a hint of herbs from the Italian seasoning and that amazing garlicky goodness. It’s really hard resisting seconds… And thirds… And even fourths… Um… Yeah. I had to give it away to make sure I didn’t eat the whole thing myself. Definitely sharing this at Fiesta Friday. =)
I perfected the recipe just in time for our family Thanksgiving dinner. Speaking of Thanksgiving, it’s next week! I can’t believe time went by so fast!
Before I forget! There’s still a few days left to enter into the Building a Framework e-Book bundle giveaway. Make sure to enter!
First, don’t be afraid of the yeast. Really. Don’t. It’s not as terrifying as it sounds, I promise.
In a large bowl, pour in warm milk and warm water. Make sure that the milk and water are warm and not hot nor cold. Major emphasize on warm. Yeast contains bacteria that need to be activated in warm liquid. If the water/milk is too hot, the yeast will die, and nothing will happen. If the water/milk is cold, the yeast will not be activated. It’ll just float around, asleep. The package of yeast recommends the temperature of the liquid to be around 100-110F, but I just guess by touch. It should feel warm but not too hot that you’d burn yourself.
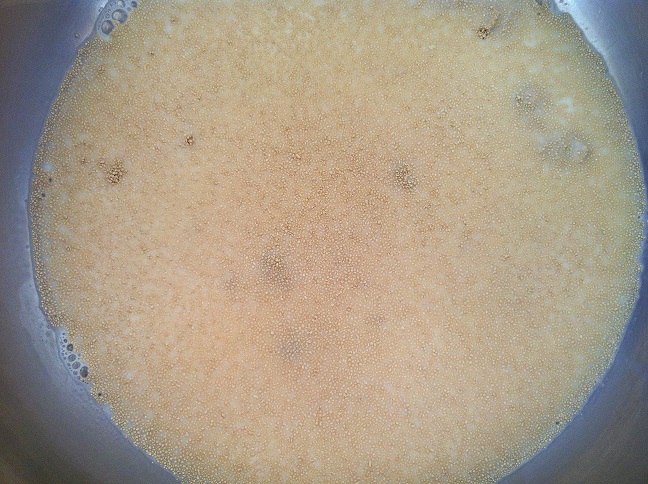
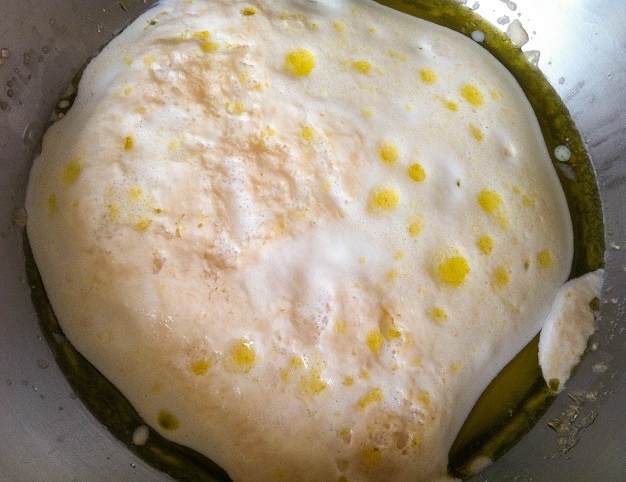
Add one package (¼ ounce) of the yeast into the warm milk and water mixture. Use a spoon to stir the yeast to help dissolve it. Add in the sugar and olive oil. Mix with a spoon to dissolve the sugar. The sugar helps activate the yeast. Allow the yeast sit there for about 15 minutes. You’ll start to see that the surface will become foamy. The olive oil will not dissolve. It’ll just sit there on the surface.
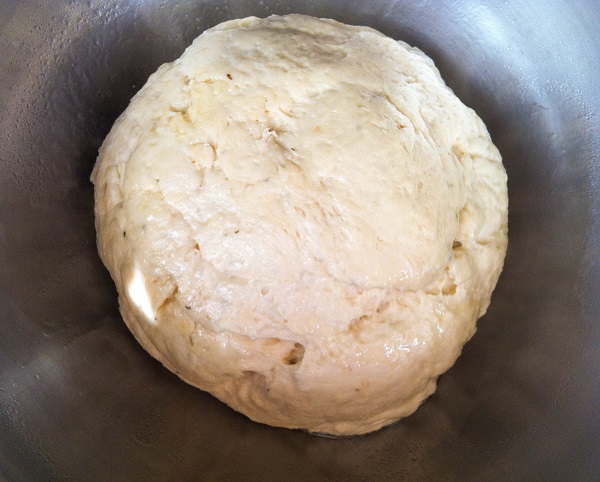
After 15 minutes, add in a beaten egg, flour, grated parmesan cheese, garlic powder, Italian seasoning, and salt. Mix the ingredients until they’re evenly incorporated and form dough. Use your hands to work the dough for a few minutes to make sure that the ingredients are all incorporated. Place the dough into a large well oiled bowl. Otherwise the dough can stick to the sides of the bowl.
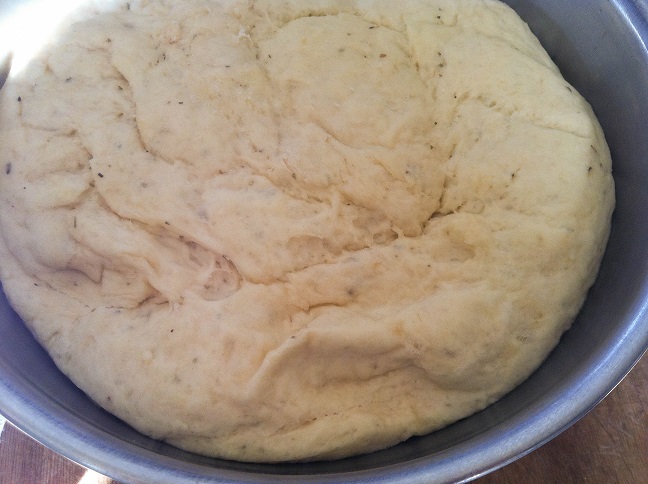
Cover the bowl with parchment paper and leave it in a warm place to allow the dough to rise. You’ll want the dough to double in size.
You can leave the bowl of dough under the warm sun to rise, but if there’s no sun, no worries. I live in San Francisco, so the weather can be temperamental. What you can do instead is preheat the oven to about 350F. Once the oven is hot, turn it off and open the oven door, allowing the heat to escape. You’ll want to wait about 15-20 minutes to allow the oven to cool a bit. The oven should still be warm but not hot that the dough will be baked. Again, it’s warm enough that I can feel the warmth, but I won’t have to worry about burning myself. Please be careful not to hurt yourself.
Place the bowl of dough covered with parchment paper in the warm oven, and leave the oven door a little bit open. Allow the dough to sit for about 1 ½ – 2 hours until the dough has doubled in size.
I think this is the hardest part: the waiting.
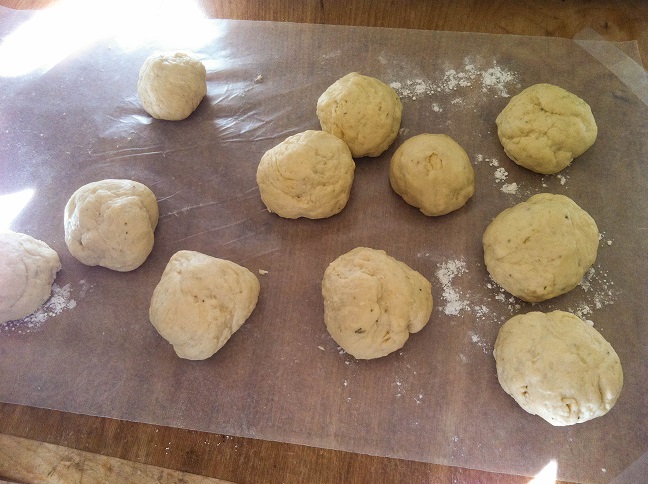
After the dough has doubled in size, remove the dough from the bowl (and from the oven if you used it) and work the dough with your hands (knead) until the dough has softened and deflated a little bit. Divide the dough into 12 even balls.
Now, you have options. For a lower calories version, you can skip these next steps. But I loved the cheesiness so I had to smother the bread with cheese.
Cut the 4oz mozzarella into 12 cubes. My cheese cubes were about ½ inch on each side.
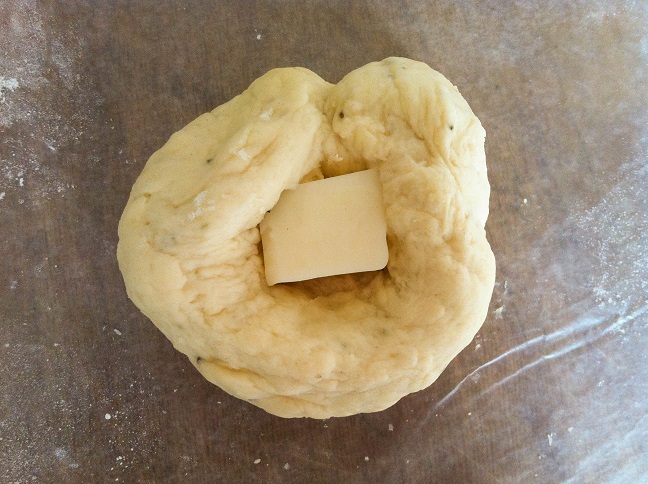
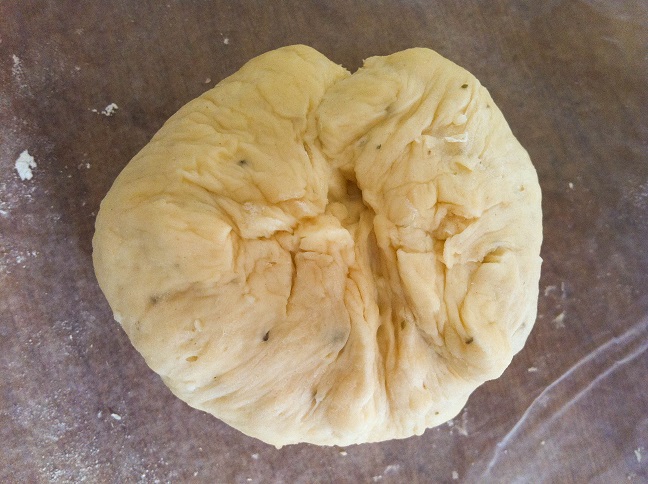
Flatten each ball and place the mozzarella cubes in the center. Pinch the edges together, and roll the dough between your palms to create smooth balls. Then place the mozzarella filled dough ball into a 9 inch round baking pan. Repeat with each ball of dough.
Stuffing the dough balls with cheese is completely optionally, but I love that when I break the bread apart, there’s melted cheese hidden inside. If you want to reduce the amount of cheese, you can skip this step.
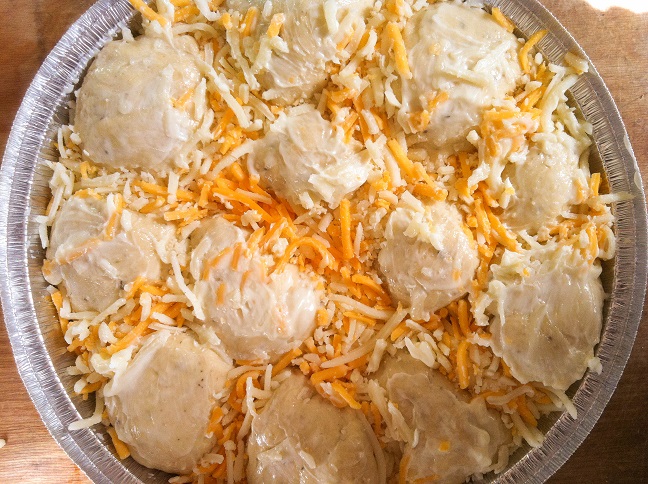
Once the dough balls are in the baking pan, stuff the crevices with the shredded cheddar cheese. I actually used a mix of cheddar and mozzarella.
I recommend not skipping this step because it’s the fun part of eating cheesy bread. But if you really want to cut the calories, then you can also skip this step.
Melt a tablespoon of butter and lightly brush it over the top of the dough. This step helps the top of the bread turn golden brown.
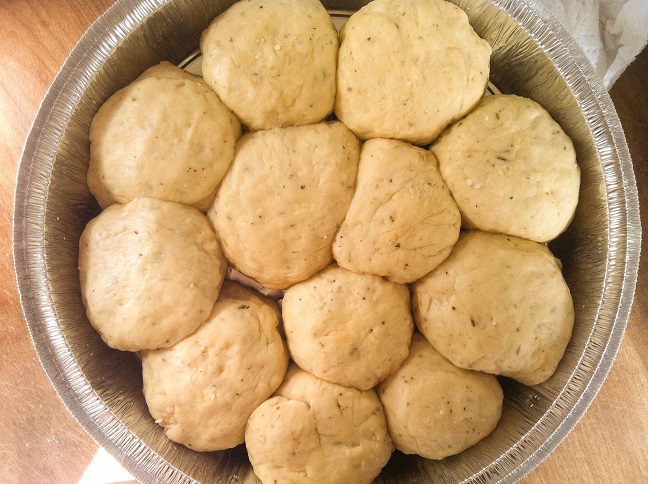
Bake the bread in the oven at 350F for about 25-30 minutes until the top is a golden brown and the cheese has melted. Remove the bread from the oven. If your oven is temperamental, like mine, and the top of the bread doesn’t turn golden brown after 25 minutes in the oven. Turn the setting of the oven to broil, and leave the bread under the broil setting for about 3-5 minutes. Make sure to watch the bread so that it doesn’t become burnt. But still trick works when my oven doesn’t like browning the top of my breads.
Mix a tablespoon of melted butter with fresh parsley and garlic powder. Brush this mixture over the top of the bread.
Serve the bread warm.
Enjoy!
Want instant updates? Follow me on Facebook, Twitter, Instagram, or Bloglovin.
Don’t forget to enter the Building a Framework e-Book bundle giveaway!
- 1 cup warm milk
- ¼ cup warm water
- 1 (¼ oz) packet of yeast
- 2 teaspoons granulated sugar
- 3 tablespoons olive oil
- 1 large egg, beaten
- 3 ½ cups flour
- 1 teaspoon Italian seasoning
- 3 teaspoons garlic powder
- 1 ½ teaspoons salt
- ¼ cup grated parmesan
- 4 oz mozzarella cheese, chopped into 12 cubes
- 1 cup shredded cheddar cheese (or a mix of cheddar and mozzarella)
- 1 tablespoon melted butter
- 1 tablespoon melted butter
- 1 teaspoon finely chopped parsley
- ½ teaspoon garlic powder
- Pour warm milk and warm water into large bowl. Add yeast, granulated sugar, and olive oil. Use a spoon to mix these ingredients together to help dissolve the yeast. Allow the mixture to sit for 15 minutes until it appears foamy.
- Add a large beaten egg, flour, Italian seasoning, garlic powder, parmesan cheese, and salt to the milk and yeast mixture. Mix the ingredients together until a dough forms. Use your hands to work the dough until all the ingredients are evenly incorporated.
- Transfer the dough to a well oiled large bowl. Cover the bowl with parchment paper and set the bowl in a warm place to allow the dough to rise for about 1 ½ - 2 hours.
- When the dough is almost ready, preheat the oven to 350F. Grease a 9 inch round baking pan with nonstick cooking spray or with vegetable oil. Set aside for now.
- Once the dough has doubled in size, knead the dough using your hands until the dough has softened and deflated a little.
- Break the dough into 12 even pieces.
- Flat the dough and place the mozzarella cheese cubes in the center. Pinch the edges together, and roll the dough between your palms until the dough forms a smooth ball. Place the ball of dough into the 9 inch round baking pan. Continue with the rest of the dough.
- Next, stuff the shredded cheddar cheese (or cheddar and mozzarella combo) into the crevices between the balls of dough.
- Brush melted butter over the top of the bread to help the bread turn a golden brown.
- Bake the bread in the oven at 350F for about 25-30 minutes until the top has turned a golden brown and the cheese is melted and bubbly.
- If desired, mix warm melted butter with fresh finely chopped parsley and garlic powder. Brush this buttery mixture over the top of the bread.
- Serve the bread immediately out of the oven.


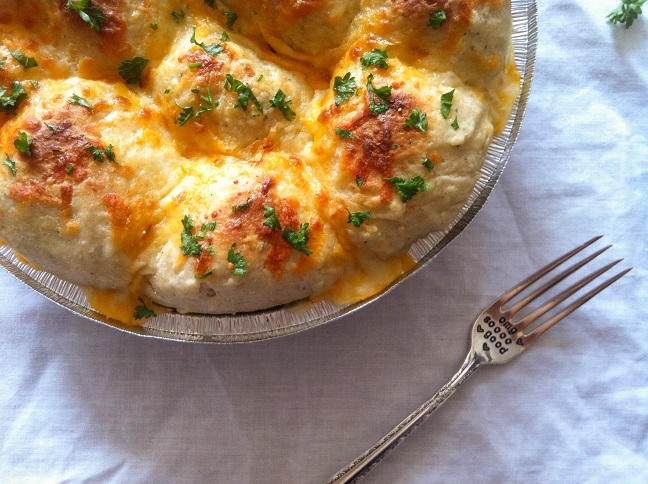
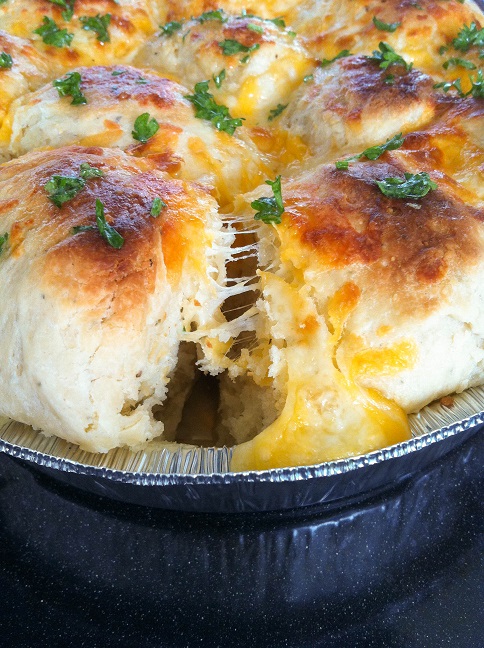
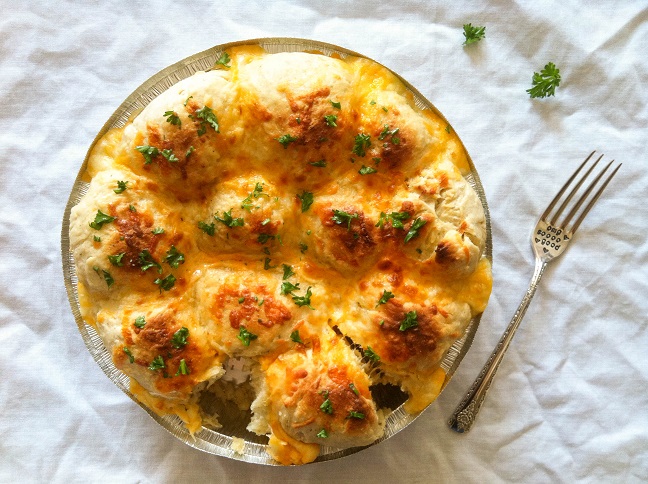
Hooray for a yeast win!! 😀 And this bread, you’re killing me! I’ve been intentionally NOT making pull apart bread like this because I KNOW that I will just eat the whole darn thing. By myself. I just cannot resist! And this cheesy garlic deliciousness you’ve brought to the party… excuse me, I’ll be in the corner, by myself, with this bread 😉
I know, I had to give the bread away so that I couldn’t eat it all by myself! lol. Have a great weekend, Tracy!
Okay, YES- this has been bookmarked. I am tempted to bookmark it again. And again. This is comfort food at it’s best and I AM the Cozy Cook after all 🙂 I’ve always wanted to make this… now I have no excuse, you’ve shown me exactly how to do it! Thank you, now may I have the rest ? 🙂
Of course, Stephanie! I hope you’ll enjoy the bread as much as I do!
Oh that looks CRAZY good! My sister and I are thinking about making this Thanksgiving weekend! As if we don’t already have enough calories planned … ah!
lol! I really hope you’ll like this when you get the chance to try it =)
Oh wow, that looks amazing!
Thanks, Phil!
I still have infinite admiration for you, Andrea! Yeast is still my worst enemy, but I shall definitely tackle it soon. I’m bookmarking this for the occasion!
I’m just starting to play around with yeast. Hopefully it’ll continue to be cooperative. =)
My mouth is totally watering now!!! It just looks way too delicious! 😛
Thank you so much! Hope you’ll like it!
You’re welcome 🙂
Oh my gosh this looks amazing! I cannot wait to try and make this! Great step by step pictures!!!
Thanks, Rebecca! I hope you’ll like this bread!
Wow! I’m making this STAT!
I hope you’ll like it, Sarah!
Oh, my dear lord… Why do you torture us so…?
I didn’t mean to, but these were so good I couldn’t resist sharing =)